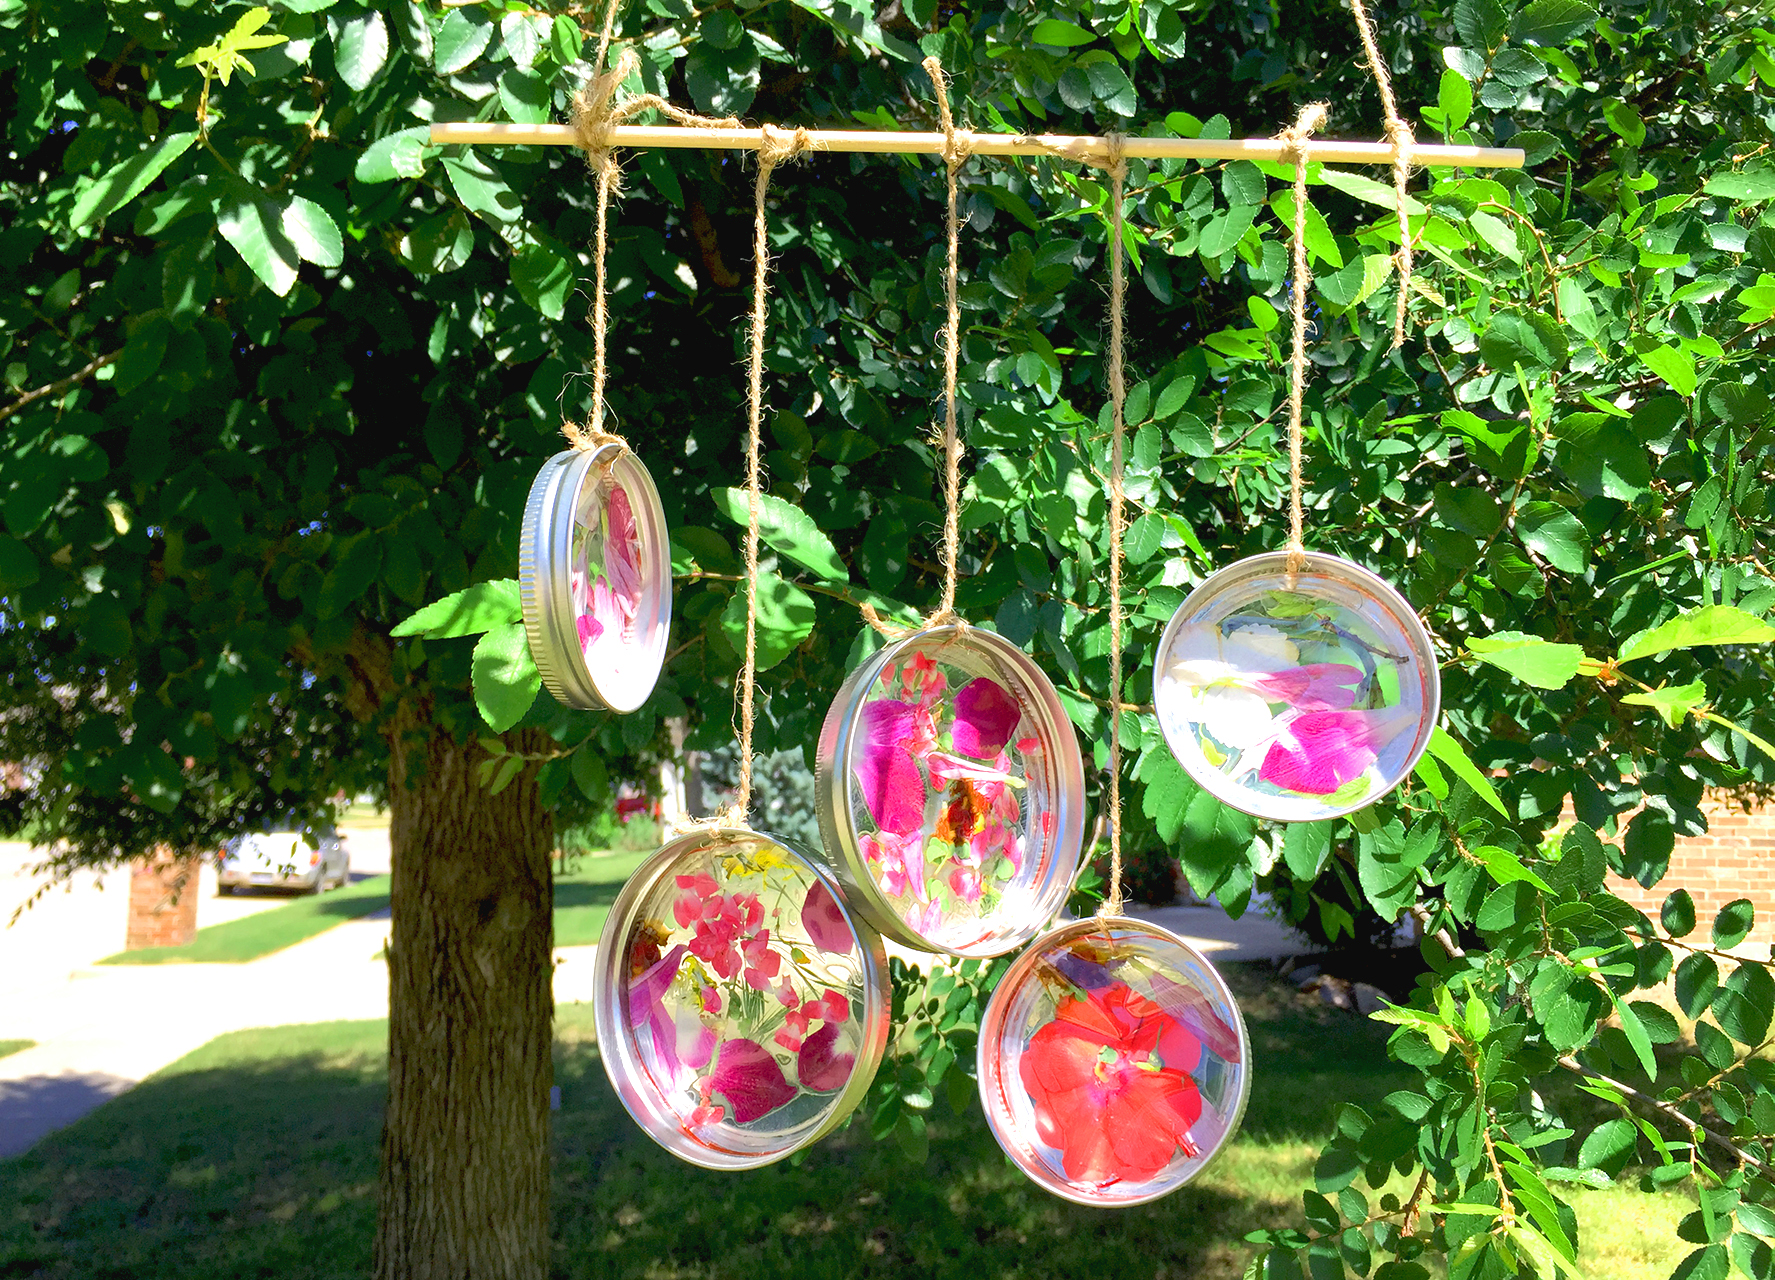
Spring is here, and slowly the weather is warming up. Flowers are starting to bloom all around Texas. It’s time to get the kids outside and enjoy the sunshine and nature. But while you’re outside, why not take advantage of the warmer weather and create beautiful wind chimes to hang from your trees. These quiet chimes are the perfect way to enjoy the vibrant colors of flowers in the sunlight.
Below are simple steps for you and the kids to create your own Springtime Wind Chimes.
Note: this craft is a week long process due to pressing and drying fresh flowers.
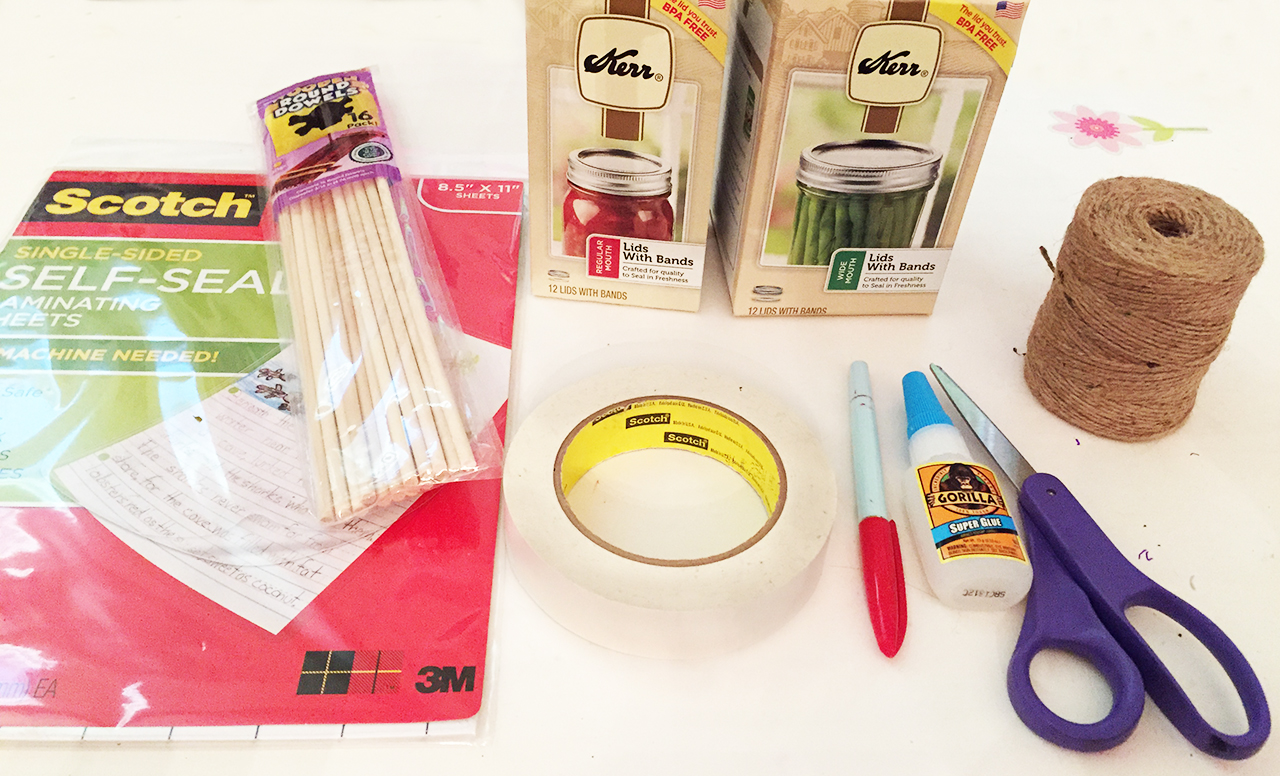
Supplies:
- Small flowers and leaves
- Self-adhesive laminating sheets (8.5 x 11)
- Round wooden dowels
- Regular mouth lids with bands
- Wide mouth lids with bands
- Twine
- Super glue
- Tape
- Sharpie
- Scissors
- Gallon ziploc bags
- Paper towels
- Books (or anything heavy for pressing flowers)
COLLECT THE FLOWERS
Step 1: Provide everyone a ziploc bag and write their name on it.
Step 2: Time to take a nice nature walk around the neighborhood or park. Gather up flowers and leaves in a variety of colors and textures.
Pro Mom Tip: The flowers need to be able to lay flat or be taken apart to be used as pieces.

Step 3: Once everyone has gathered a good amount of flowers and leaves, it’s time to empty out your bag and check out your loot. Pick out your favorite leaves and flowers.
Pro Mom Tip: We made the mistake of not drying the flowers and the moisture made the flowers wilt and brown in the sunlight. So I’m adding the flower press process so yours will stay nice and colorful.
PRESS & DRY THE FLOWERS
Step 4: Trim down all of the flowers that you want to press dry. Cut the stems as short as possible, and remove any leaves as well. The flowers need to be thin and as easy-to-press as possible. You can always use the leaves separately.
Pro Mom Tip: Choose several different colors to keep things pretty and vibrant.
Step 5: Lay the flowers and leaves out on a paper towel for pressing. Make sure none of the flowers are touching and nothing is hanging out of the paper towel.
Step 6: Completely cover the flowers and leaves with another paper towel.
Step 7: Take your sandwiched flowers and leaves and place them between the pages of a heavy book or stack smaller ones on top of each other. The flowers and leaves need at least a week to dry out.
Pro Mom Tip: Some moisture may leak onto the pages so make sure you’re not using any important books that you’ll be upset to see get a little wet.
Step 8: After a week, check your flowers and leaves. If all the moisture is gone, then they are ready to use. Gently remove them from of the book.
CREATE THE WIND CHIMES
Note: All images I’m showing in the process of creating the wind chimes do not have pressed flowers. This is where we learned from our mistakes.
Step 9: Use a mason jar lid to trace a circle on a piece of the adhesive paper. Repeat this step for each chime.
Pro Mom Tip: We were able to fit five lids onto one wooden dowel.
Step 10: Once you’ve traced all the circles, flip the adhesive sheet over, and tape it to a flat surface. Remove the backing and expose the sticky side.
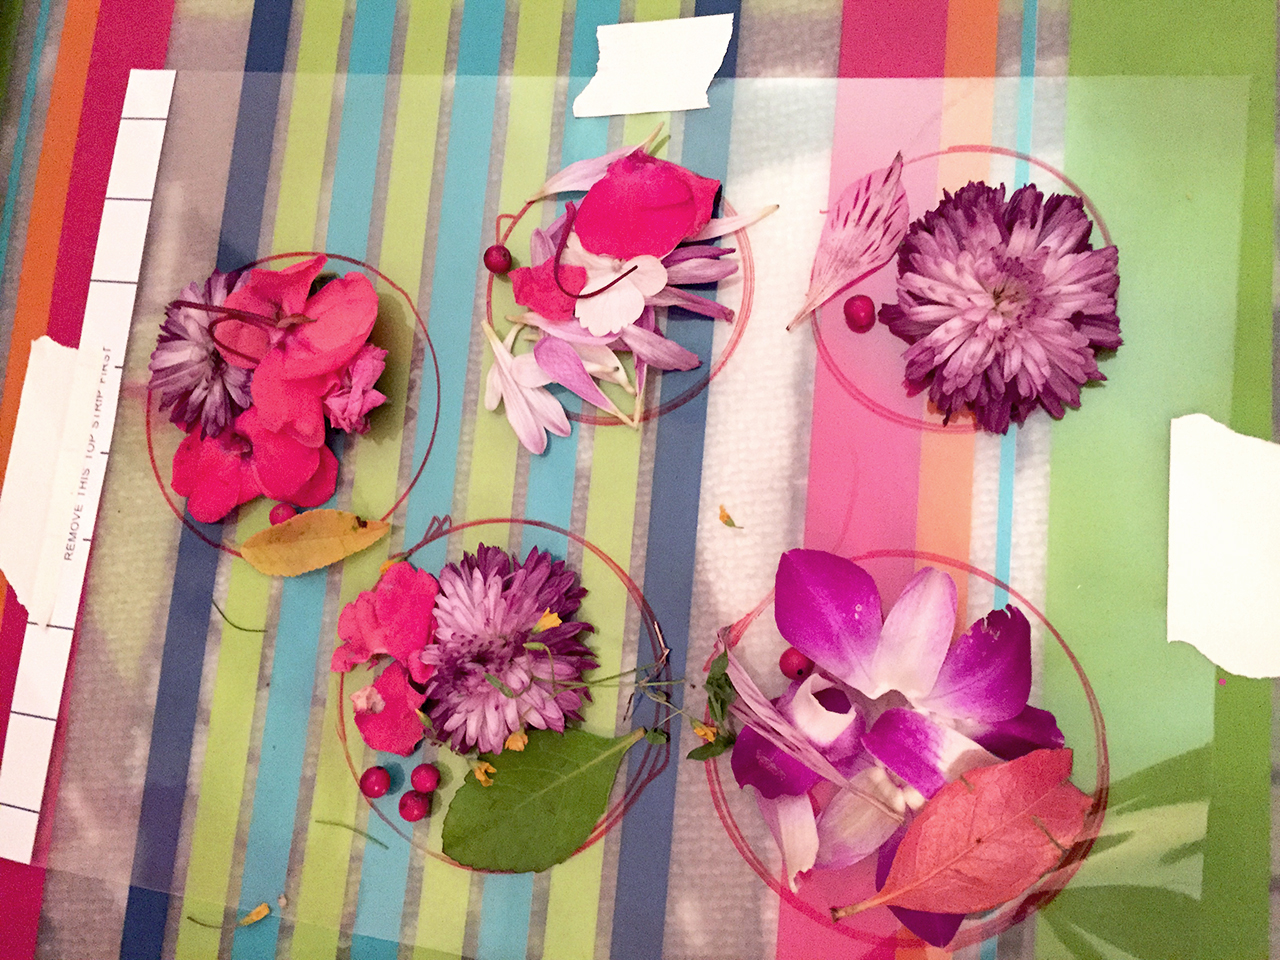
Step 11: Place your flowers and leaves within the circles that you’ve drawn. They should stick to the adhesive easily. Fill up the circles however you want them to look.
Pro Mom Tip: Try to keep all the flowers and leaves inside the circle so it has a better seal.
Step 12: Take another adhesive sheet, peel the back off and stick it on top of the sheet with the flowers. This will create a pressed seal around your flowers and leaves.
Pro Mom Tip: You can line up your sheets on one side and roll the top adhesive down slowly while pressing down as you go. Try to get as many of the air bubbles out as you can.
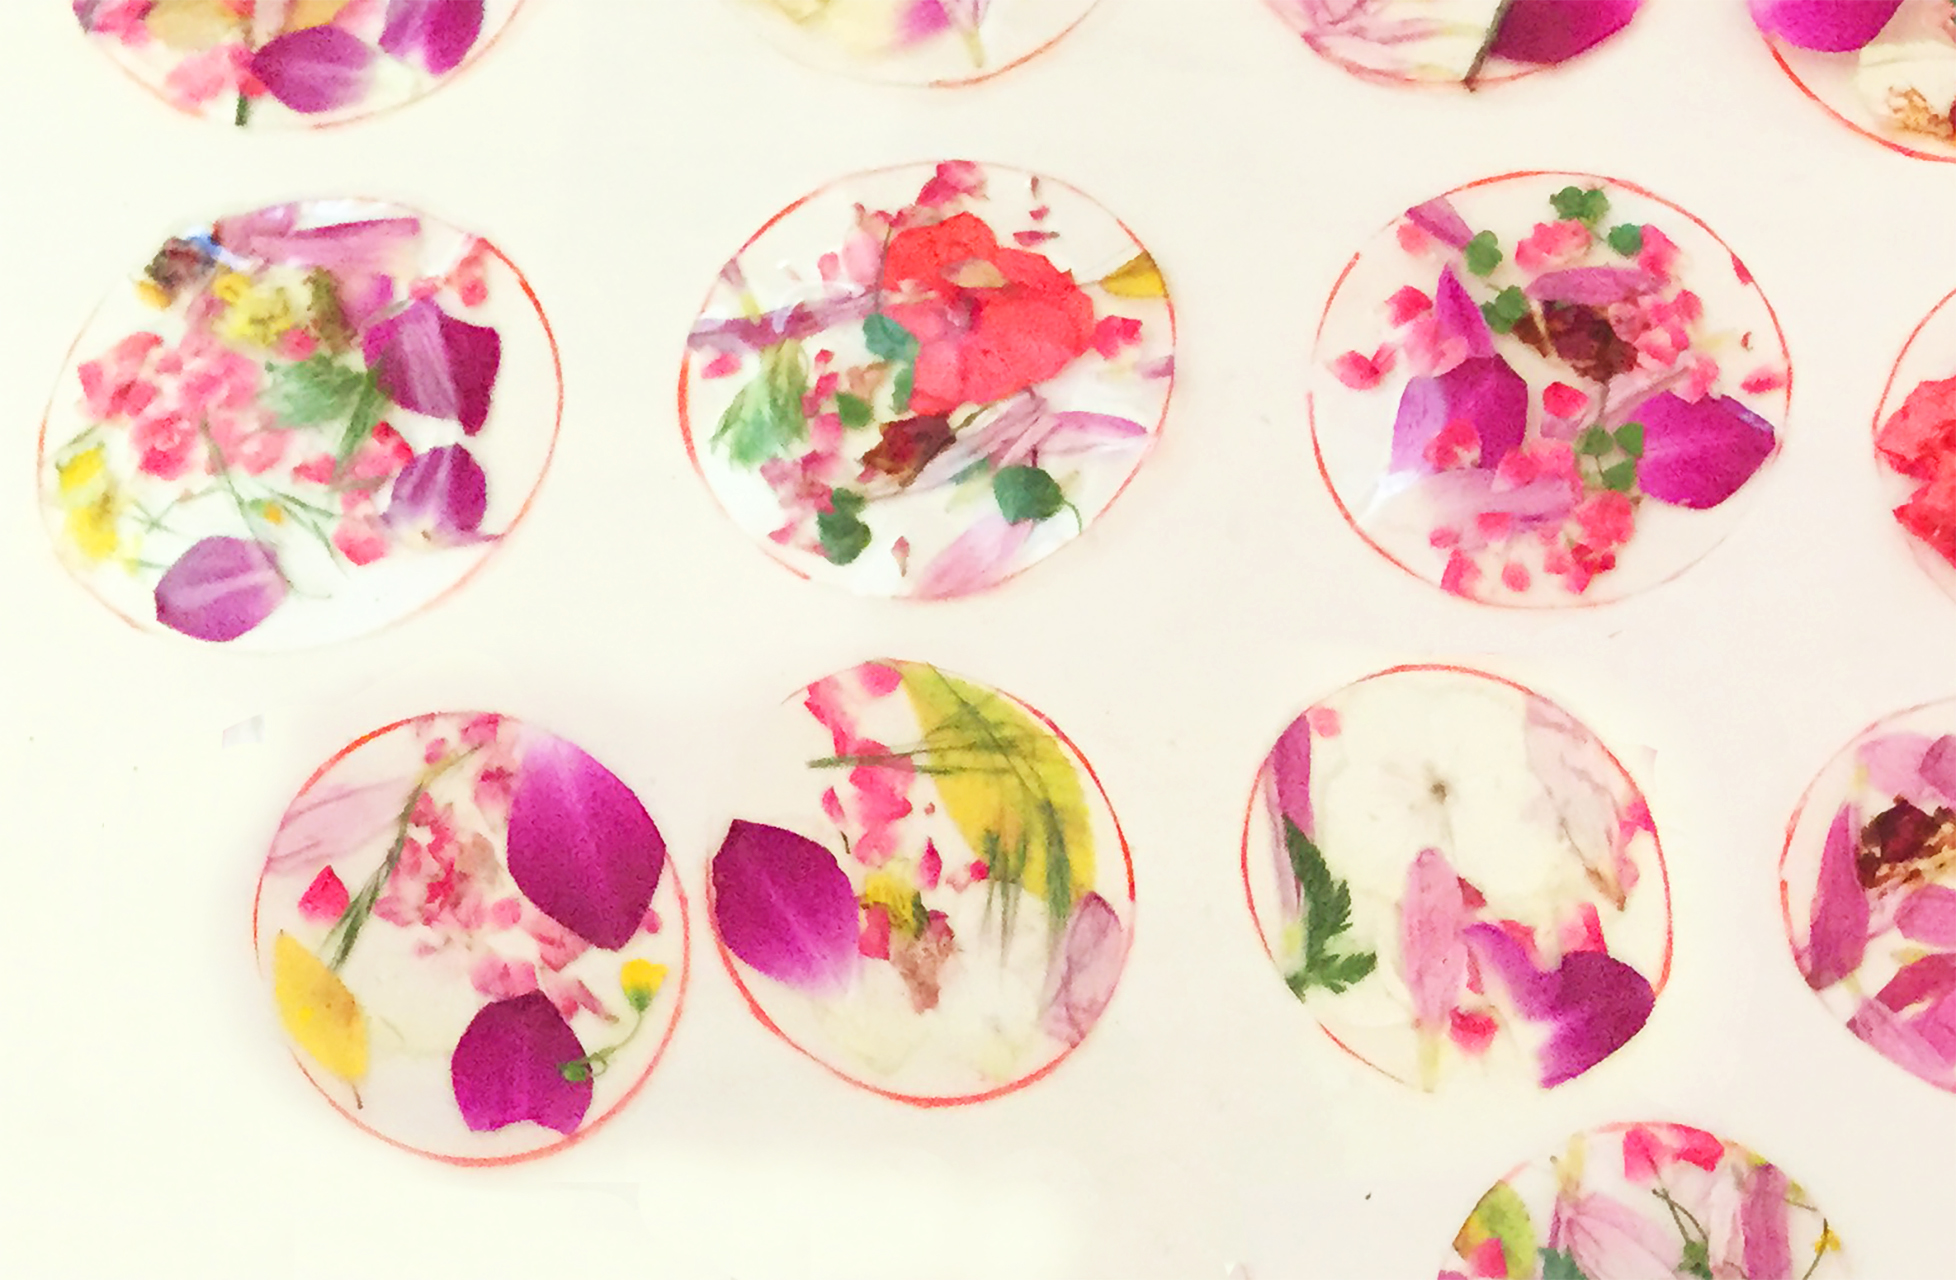
Step 13: Once you’ve sealed your flowers and leaves, cut the circles out. Be sure to cut inside your lines.
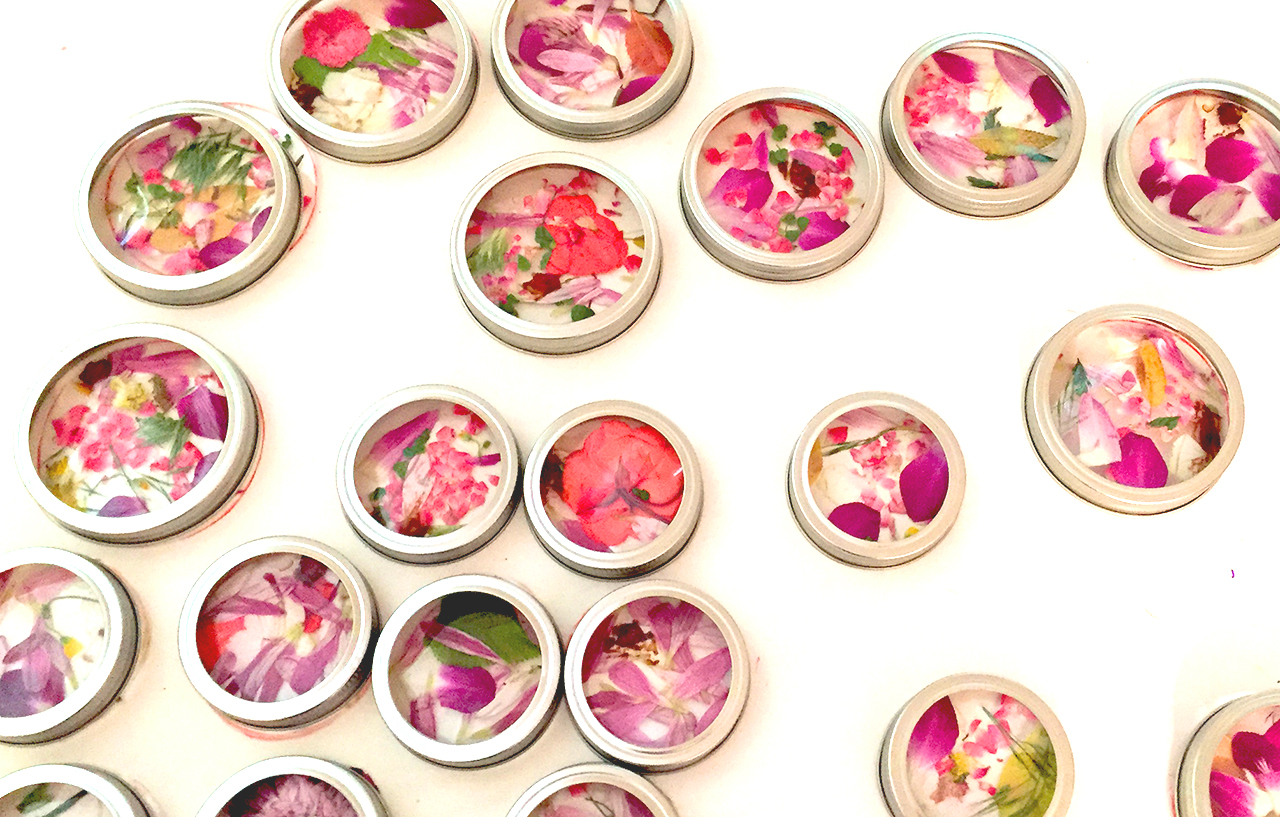
Step 14: Place each circle of flowers and leaves into a mason jar band so you know how it’s going to look.
Step 15: Take your wooden dowel and place the lids on a flat surface. Space our the lids close enough that they will hit each other in the wind.
Pro Mom Tip: We used different size bands and hung them at different levels to add interest and motion.
Step 16: Tie twine around the top of each band but make sure it’s a little loose.
Pro Mom Tip: Make sure before cutting the twine that it’s long enough to tie around the wooden dowel.
Step 17: Add super glue to the inside rim of the band, around the lid opening. Press your flower circle to the inside of the band. Repeat for each band. Let them dry according to directions on the super glue.
Pro Mom Tip: If you don’t have any super glue, you can always use a glue gun.
Step 18: Tie the other end of the twine to the wooden dowel where you want the lids to hang from. Be sure the lids are spaced where you want them. Than knot the twine to the wooden dowel so it won’t move.
Step 19: Tie another piece of twine to each end of the wooden dowel for hanging.
Step 20: Hang your new Springtime Wind Chime outside and from a nice tree branch that gets plenty of beautiful sunlight.
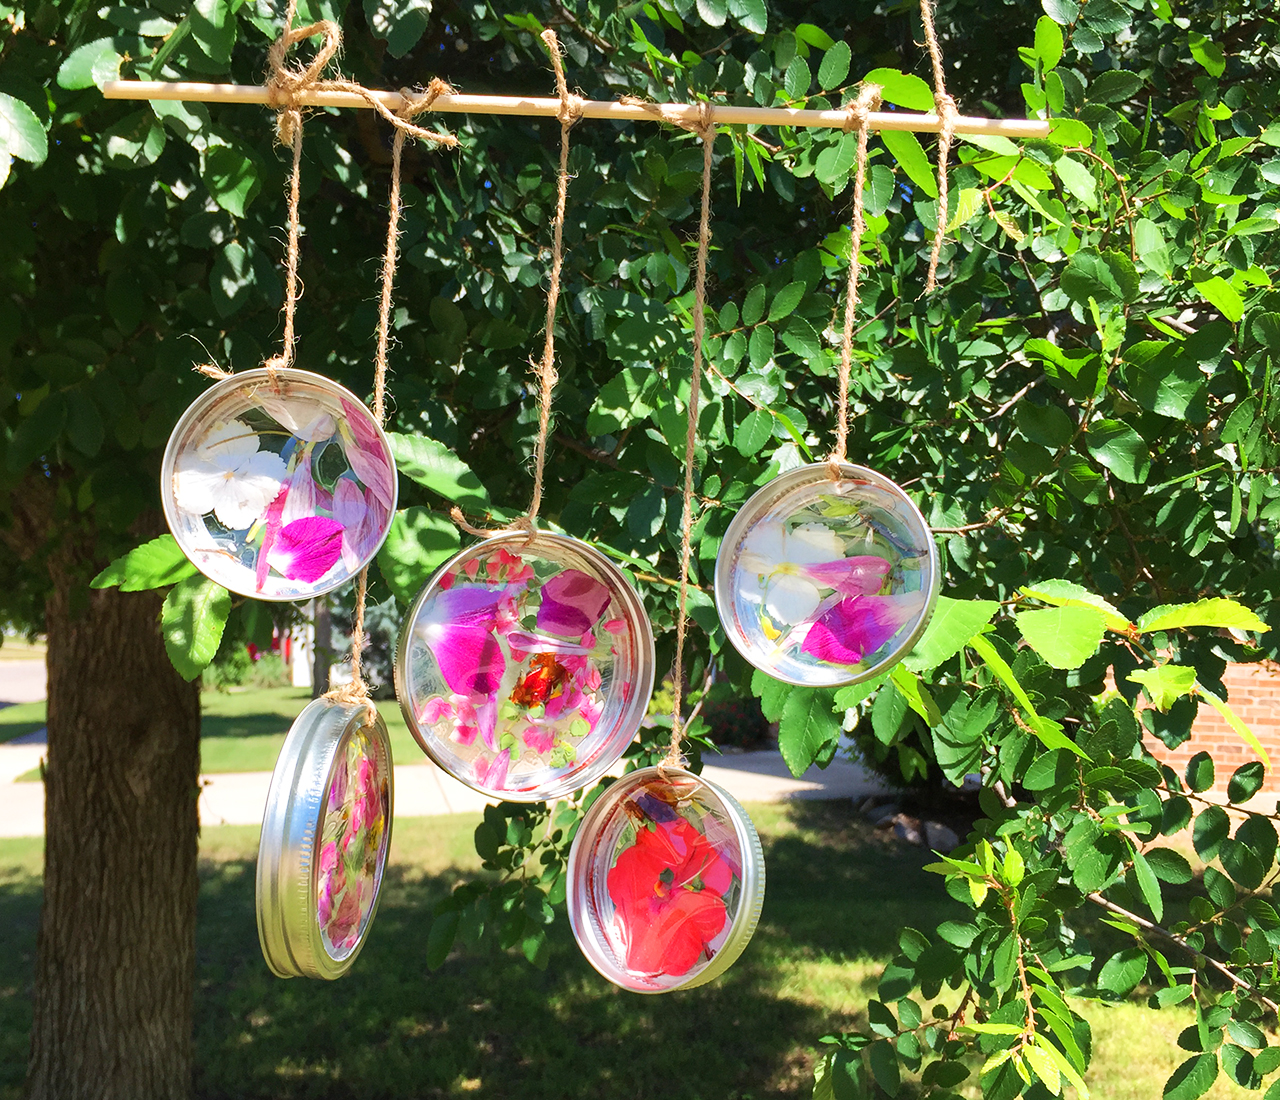
This craft takes a bit longer but the outcome is well worth it. Your kids will enjoy the nature walk and collecting the flowers and leaves. Once you’ve mastered drying and pressing the flowers, you can create many other nature crafts. The adhesive sheets seal the flowers and leaves and keep them preserved. Make sun catchers, bookmarks or even coasters. If you want to do something more elegant with the pressed flowers, you can place them between two pieces of glass within a frame and display them inside your home. This is the best time to get outside when the flowers are in full bloom and you can all enjoy the weather.
Love,
Jeannie
Leave a Reply