 It’s still rather fresh in my mind and in my heart. My beloved Leo, fierce guard cat extraordinaire, total fluff ball and all around grumpy old man died fairly recently. We had him since college- almost 18 years. He moved states with us, welcomed William (whom he also watched over) with us and was an important member of the Bui family. He was old, but it was still a shock to lose him. It felt a little too early because it felt like we’d have him forever.
For Him, The Bell Tolls
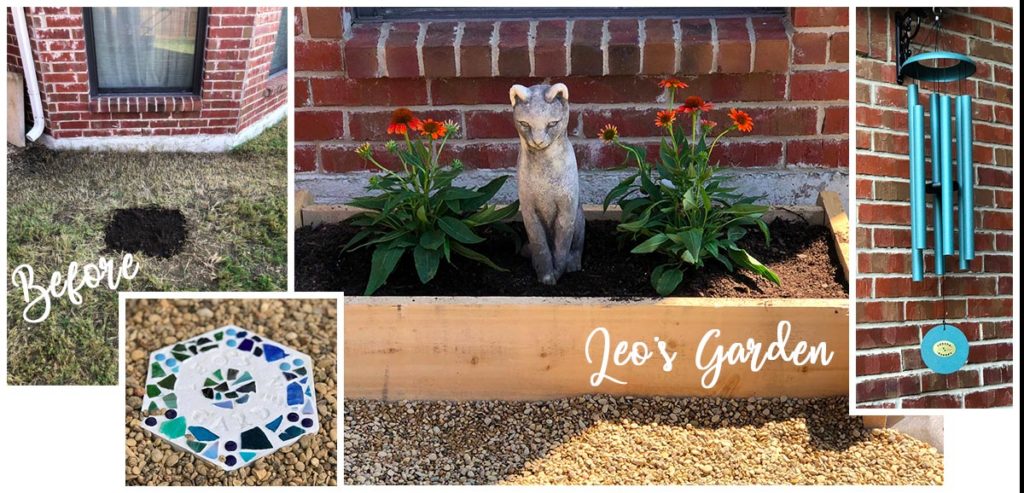
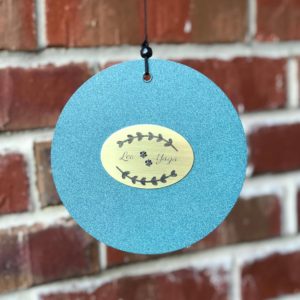 When it came to finding a way to remember him, I hadn’t really thought much about it. The first few days were oddly quiet. We were so used to his meows and chirps, the house seemed incredibly devoid of sound. I knew I had to fill this with something nice. My parents had introduced me to Corinthian Bells a while ago. They’re a wonderful, albeit expensive windchime that produces a really lovely sound. Immediately I knew this would make a great tribute.
I bought a set of bells on Amazon that were the same blue color of his eyes. I added a memorial plaque that I had engraved with his name and some cat paws. Feeling like a master of all things power tools, I watched a few Youtube videos on installing a bracket straight into brick. A quick trip to Home Depot for a decorative bracket and a masonry bit later, and I had successfully installed a lovely new backyard feature. Now, day or night, I hear these sweet bells and it’s a lovely reminder of him.
A Garden of His Own

Since we decided to intern Leo in our backyard, I wanted to create a peaceful, beautiful place that we’d want to visit more often. Since he’s there I knew I had to make him a garden worthy of his memory. I started with a completely blank canvas. For 11 years, there’s been nothing but grass in our barren backyard. I quickly sketched a design of raised garden beds to go under our master bedroom windows. I would then be able to fill each raised bed with beautiful flowers that will look beautiful year after year.
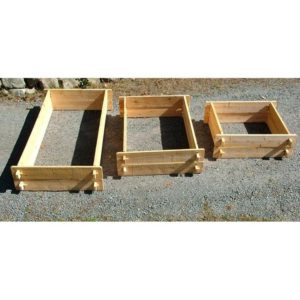
I did some great research on raised garden beds and found some farm-inspired wooden beds that required no tools and very little effort to assemble. These Farmstead beds from RaisedBeds.com come in several sizes and are made of cedar wood so they’ll fade beautifully over time. They’re a cinch to put together and arrived in under a week from Massachusetts. My other supplies include weed block, grass and weed killer, no-dig edging and pea gravel.
Lay Down the Framework
Working from my sketch, I roughly laid out the dimensions of the garden bed. Nothing is very exact but that’s the beauty of the garden. I completed all steps over a weekend, working only in the morning. Texas summers prevent being out of doors after 11 am or so.
 First up, I killed the grass and the weeds. I used RoundUp Weed Killer from Home Depot that you can spray directly on the grass. It will kill anything that’s under it for at least 4-6 months. I did the spraying the night before and gave it time to dry before I began working the next morning. I also had Peter scalp what grass was left so it was down to the dirt almost.
Next, I laid down weed block, being careful to make note of any sprinkler heads that will need to pop up. Just cut out a neat hole and they are still able to pop through. I used a block that is thick enough to prevent grass and weeds from growing up, but will still let water drain through the bottom. I secured the block in place under the no-dig edging. We’ve used other edging before but our mix of rock and clay makes any sort of digging, more effort than it’s worth. So this easy alternative was a life saver.
Laying everything out was really the most time-consuming step. I continuously check my measurements to make sure I had an even bed all the way around. But it was still pretty easily managed with just one person. All hail the weekend warrior woman!
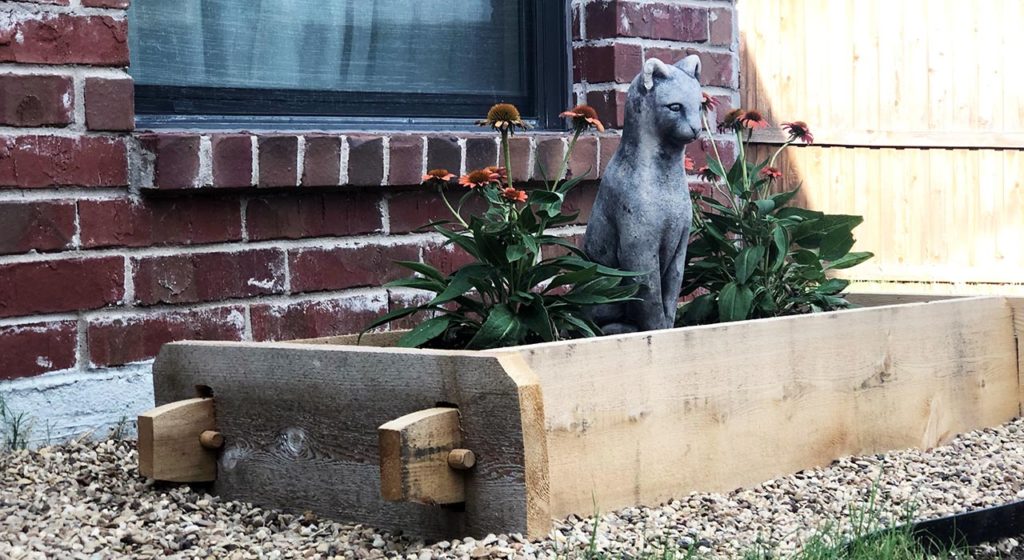
After that, it goes fairly quickly. Just put the beds together in the spot you want and fill them with potting soil. My first plants were coneflowers. My Mom has had a lot of luck with these in the hot summers, so I’m hoping they’ll pull through. Plus, they’re perennials, so they will come back year after year. After that, William added a cat garden sculpture that is always overlooking our sweet Leo.
All around the raised beds, I filled with pea gravel. We’d already used that feature to extend our patio, so it seamlessly fit in and will keep the grass and weeds from popping up around the garden beds. Plus, I really love the sound of walking on gravel. Not sure what it is, but it’s soothing to my soul.
The Final Touch
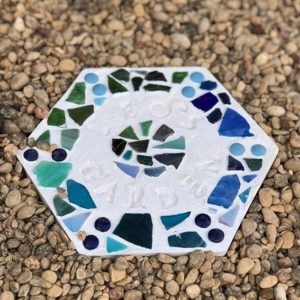
The last final touch we added was a memorial stepping stone for Leo’s Garden. I picked up a DIY stepping stone kit from Michaels. It comes with everything you need to create your own stone: concrete, plastic mold, glass fragments and decorative pieces and even letter to press a word or phrase into your stone. I pulled out all of the blue and green glass (again for his eyes) and laid out a basic design on paper first. Then simply follow the instructions on the box for adding water and mixing. Let is sit and cure overnight and then add it to your garden
Pro Mom Tip: Trace the outside of the mold on paper and use this as a template to lay out your design. It’s an easy way to make sure your dimensions are correct and it’ll make the decoration process go that much easier.
Forever in Our Hearts
This little backyard memorial has really made our outdoor space go from barren and depressing to full of life, color and sound. It’s a spot that I now want to visit and can see from almost any room in the house. A perfect place to forever be in our hearts and in our home.
Love,
Sara
Very informative and great bodcily structure of articles, now that’s user friendly (:.