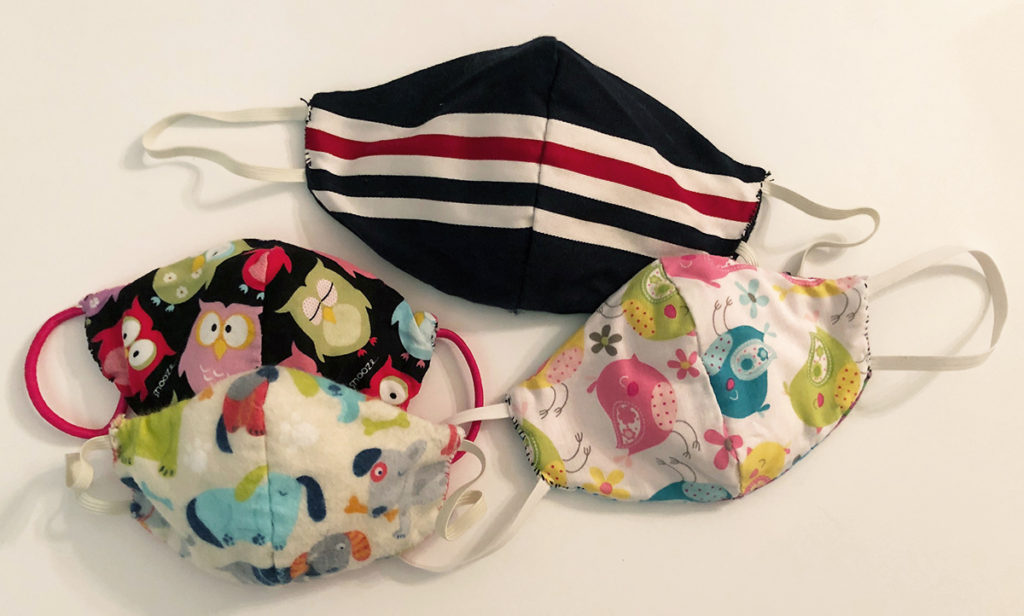
With the world changing and most implementing stay-at-home, lots of people are looking for ways to protect themselves and their children. I was looking for an easy DIY mask that didn’t require a sewing machine.
I found patterns and videos online with directions on how to make fabric masks but I didn’t like any of them as is. So I took the parts I liked and put them together to create masks for my family. I’m sharing my patterns for easy hand-sewn masks.
Please Note: Fabric face coverings should not be placed on young children under age 2, anyone who has trouble breathing, or is unconscious, incapacitated or otherwise unable to remove the mask without assistance. These fabric masks are not a full replacement for surgical masks or N-95 respirators.
WHAT SIZE MASK?
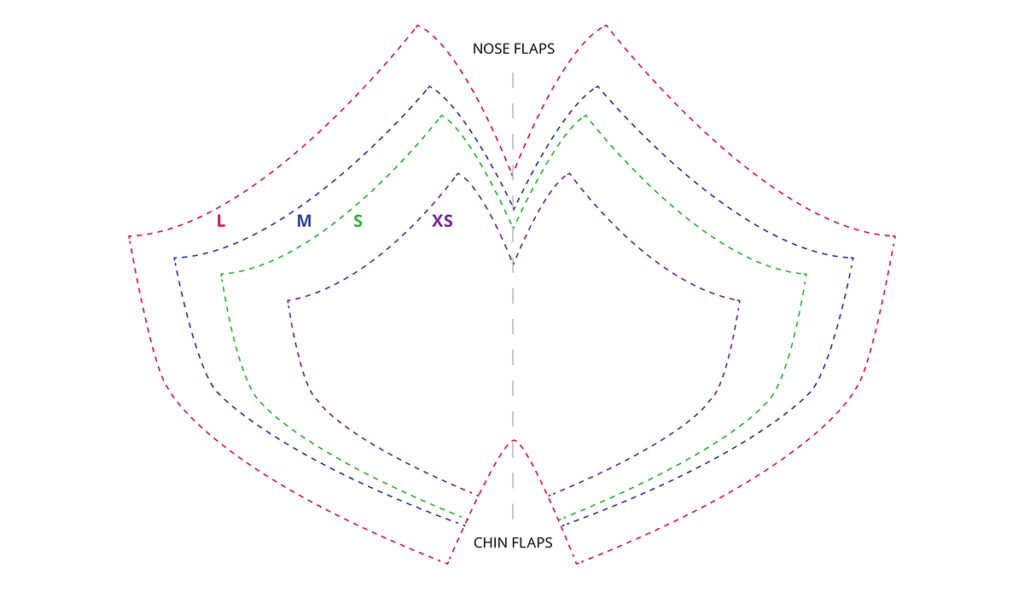
- Print out the pattern
- Cut along the color line depending on the size
- Fold on vertical center
- Tape nose and chin flaps
- Hold to face for best fit
SUPPLIES
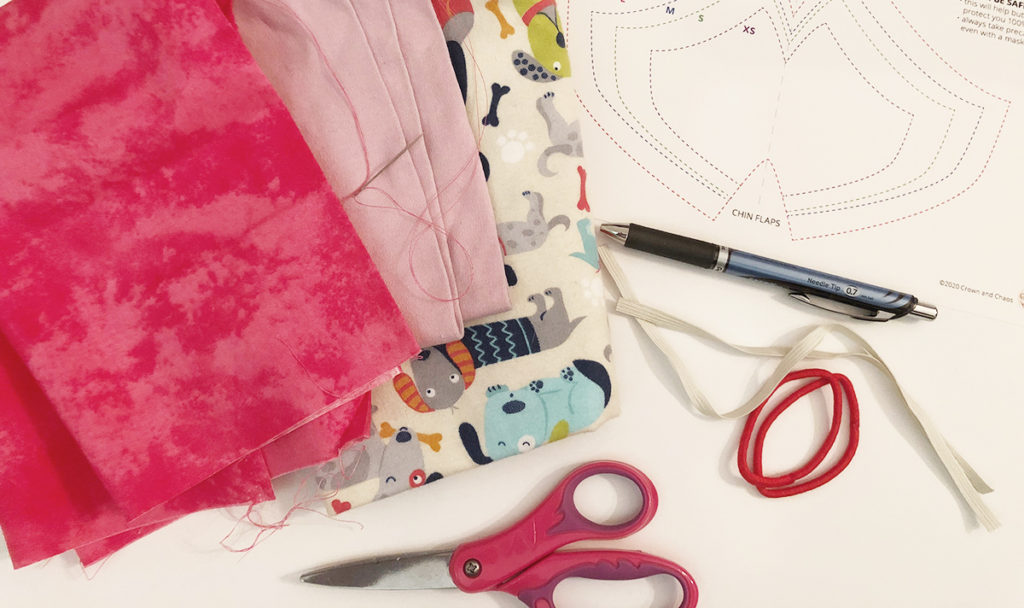
- Paper pattern cut to size
- 3 pieces of tightly-woven fabric (100% cotton/quilting fabric)
- Elastic/hair ties
- Needle and thread
- Scissors
- Pen
Pro-Mom Tip: Use different fabric for the front and back so that you know which side is facing out when wearing it..
INSTRUCTIONS
To choose fabrics, test to make sure you can breathe through the three fabrics when they are put together. Make sure to wash all your fabric before you use them just in case they shrink. Two of the fabrics will be seen since this pattern makes a reversible mask. Have all your supplies laid out in front of you – with everything accessible, it’ll be easier. Follow these easy steps.
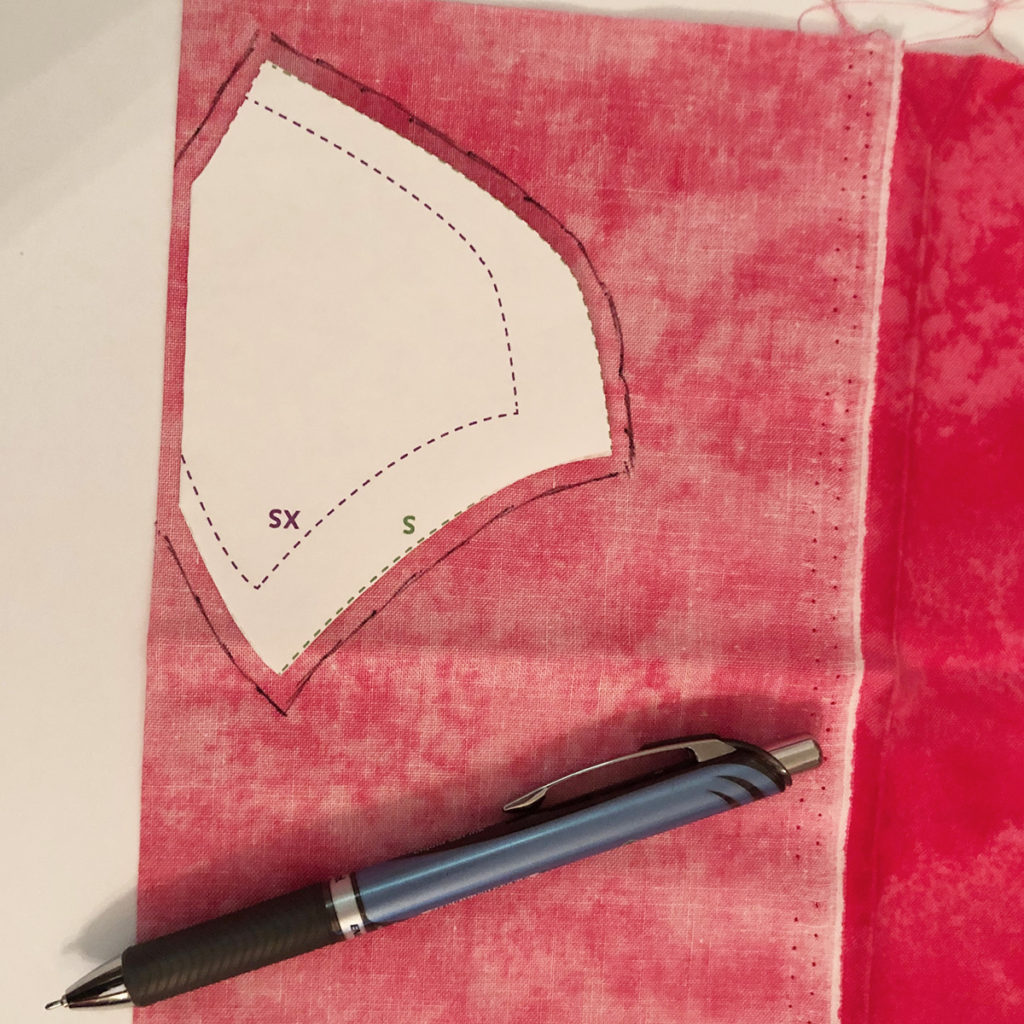
1. Fold your paper pattern in half. Grab one of the fabrics and fold it so it has a straight folded edge. Line up the folded part of the paper pattern on top of the folded part of fabric. Give yourself at least ⅛ inch all around your pattern for sewing. Take your pen and trace the pattern with the extra ⅛ inch.
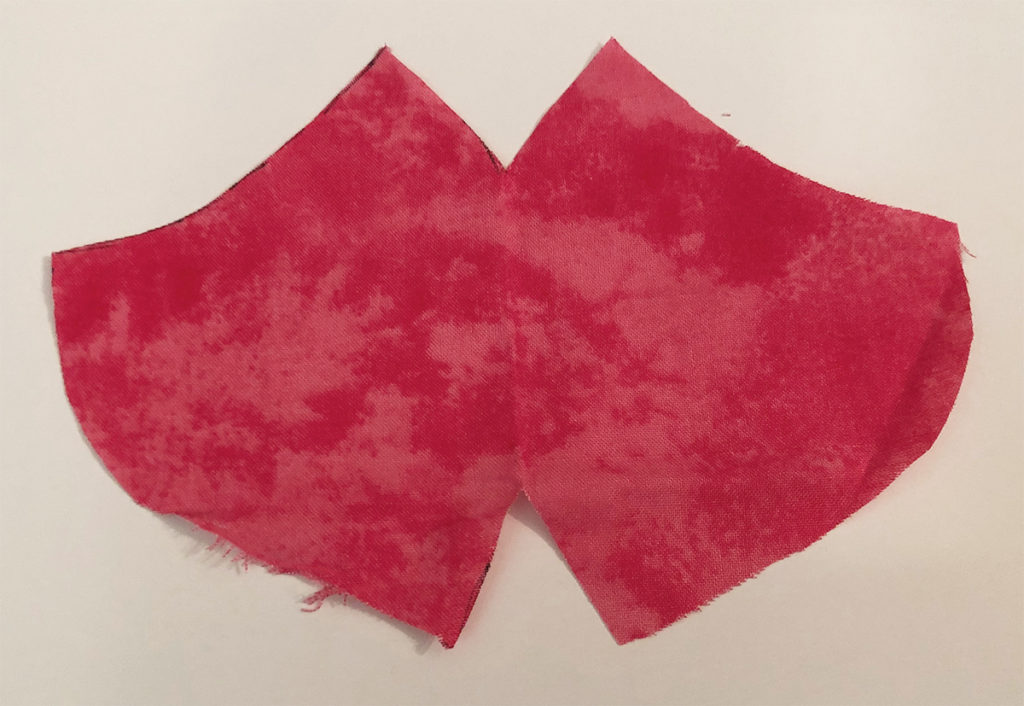
2. Time to cut out the fabric along your pen lines. When you open the cutout, it should look like the above image.
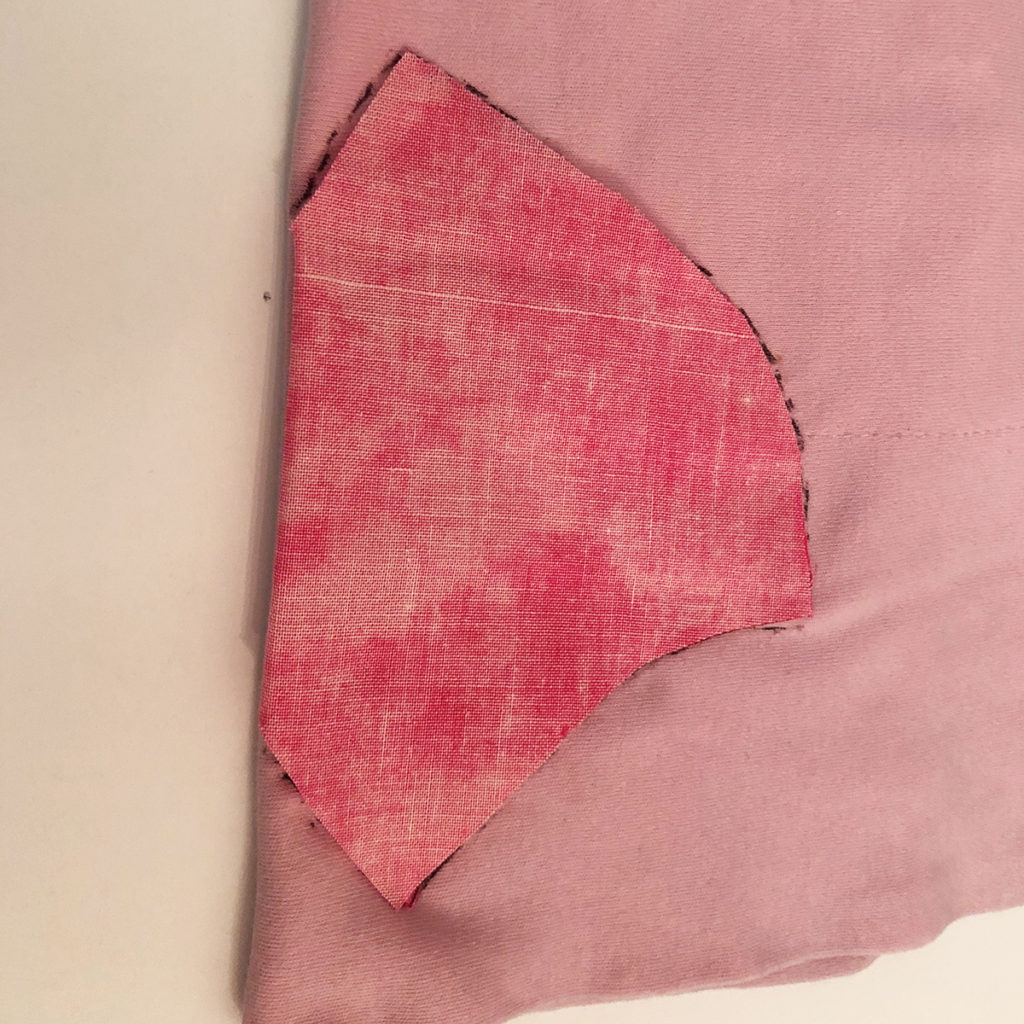
3. Fold the fabric back in half and now use it for your pattern to trace since you have the extra ⅛ inch for sewing. Fold the two remaining fabrics to make sure they have straight edges. Place your fabric pattern and trace on top of the other two fabrics without worrying about allowable space. Make sure the folding matches up with other fabrics. Trace with a pen and cut them out.
Sorry for any confusion. I changed the center fabric color from pink to yellow.
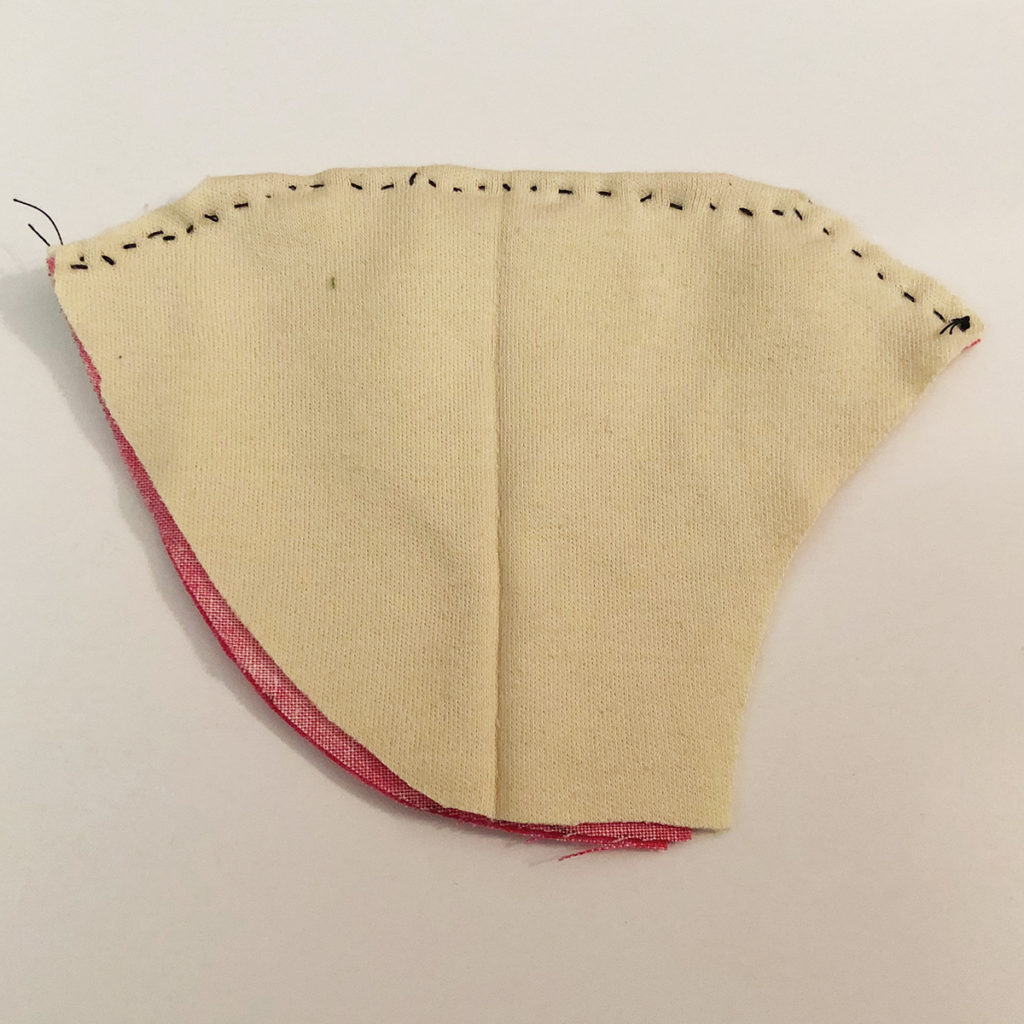
4. Take your fabric that will be against the mouth and fold in half making sure you see the backside. Take the middle fabric (you won’t see this fabric because it just helps filter) and fold it over the mouth fabric. You’ll need to hand stitch from your nose tabs, down the folded parts of fabric to the chin tabs. Make sure you’re completely stitching through all fabrics.
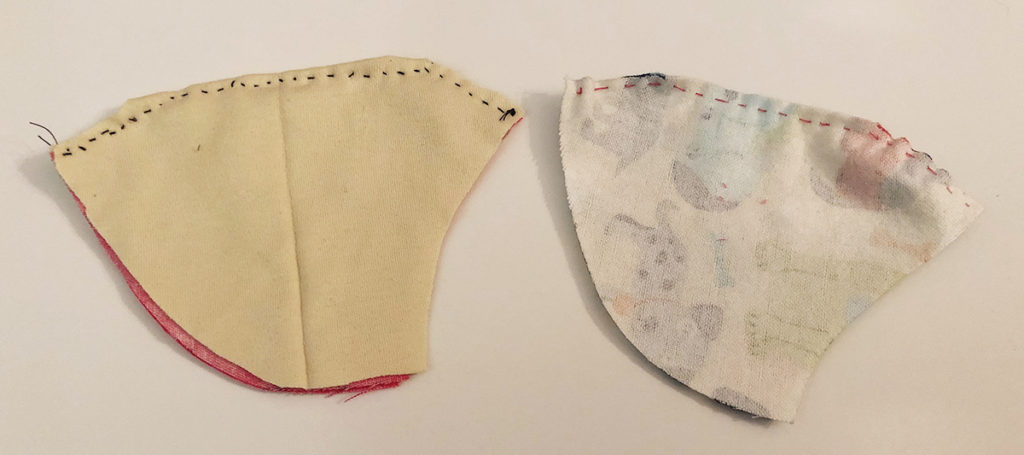
5. Take the outside fabric and fold in half making sure you see the backside. Stitch from the nose tabs, down the fold and the chin tabs.
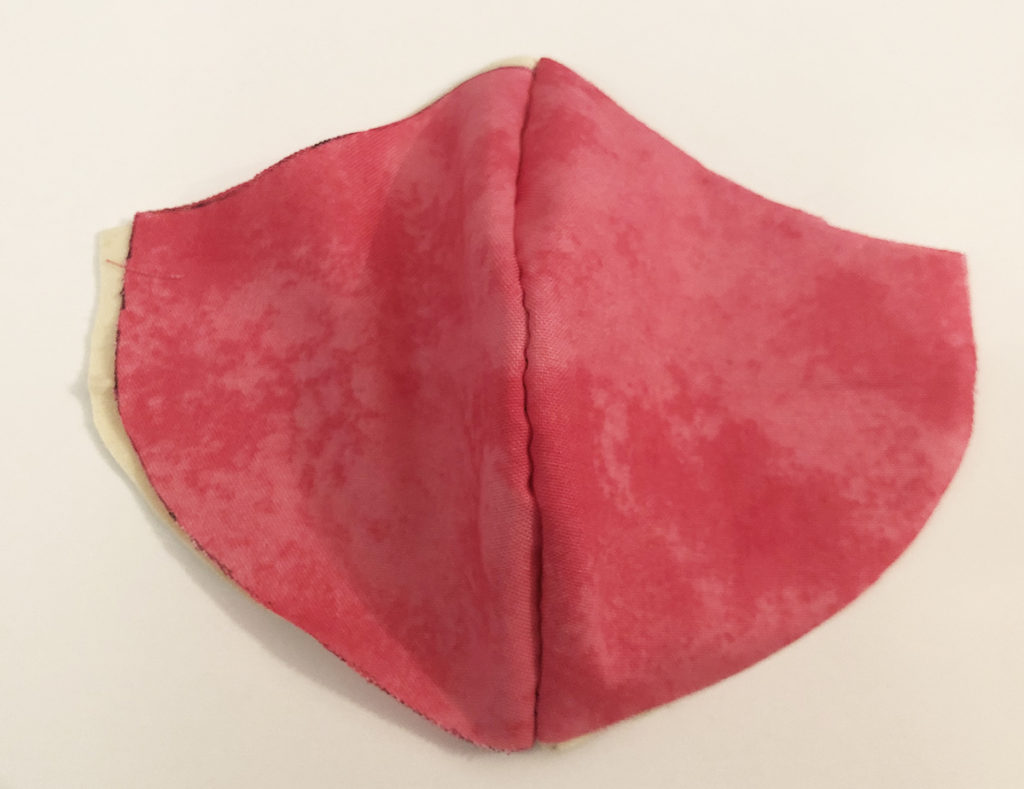
6. Take your fabric that has two, open it up and flip it open to the front of fabric.
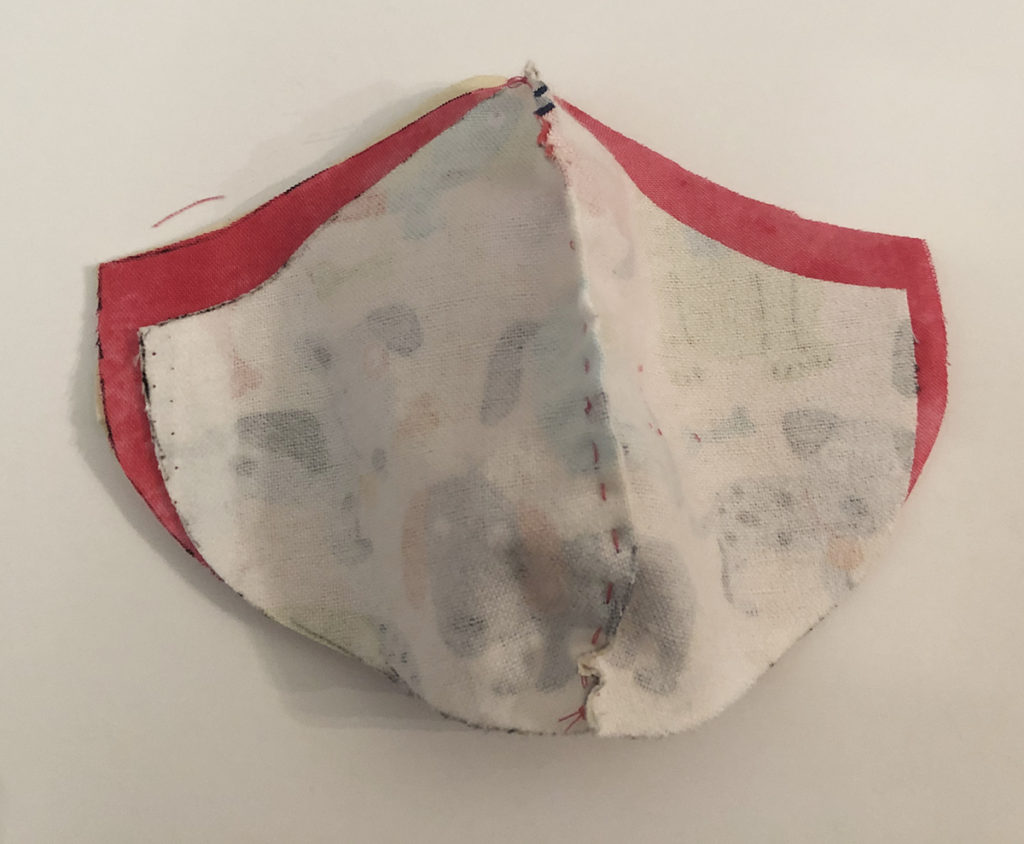
7. Take the single fabric and open it up but make sure leaving it inside out. Place it on top of the 2 stitched fabric and make sure the pattern matches.
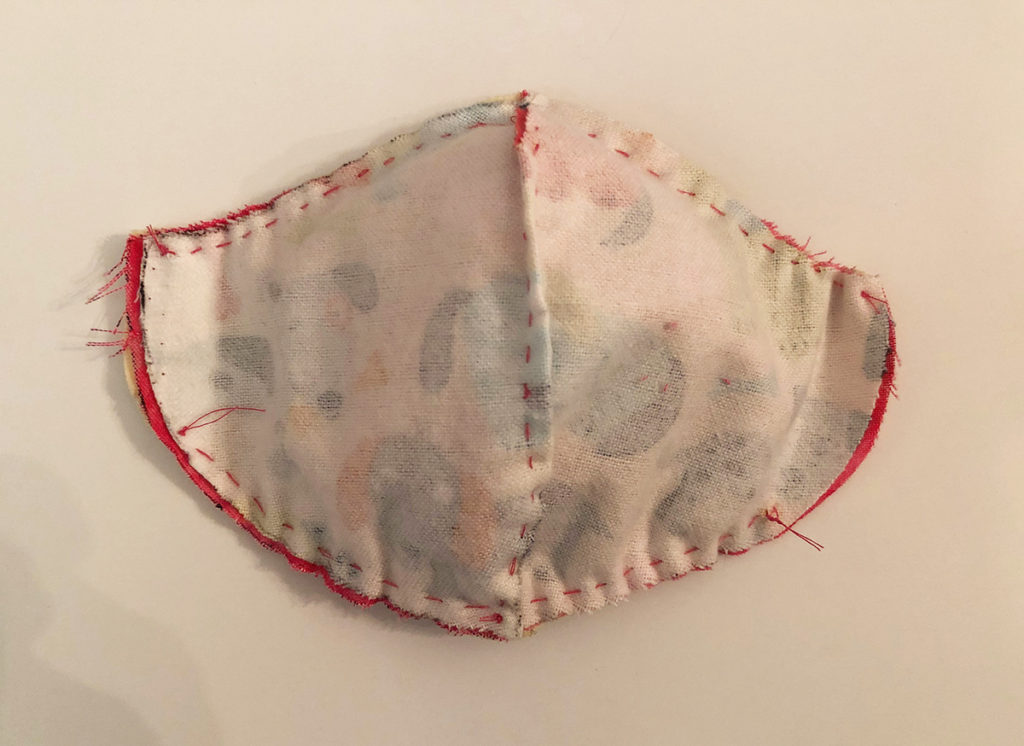
7. Stitch the fabrics together at the top and bottom of the mask pattern. Make sure to leave the sides open.
Pro Mom Tip: Don’t make your sides too small because you need enough space for the elastic and you’ll have a problem with Step 8.
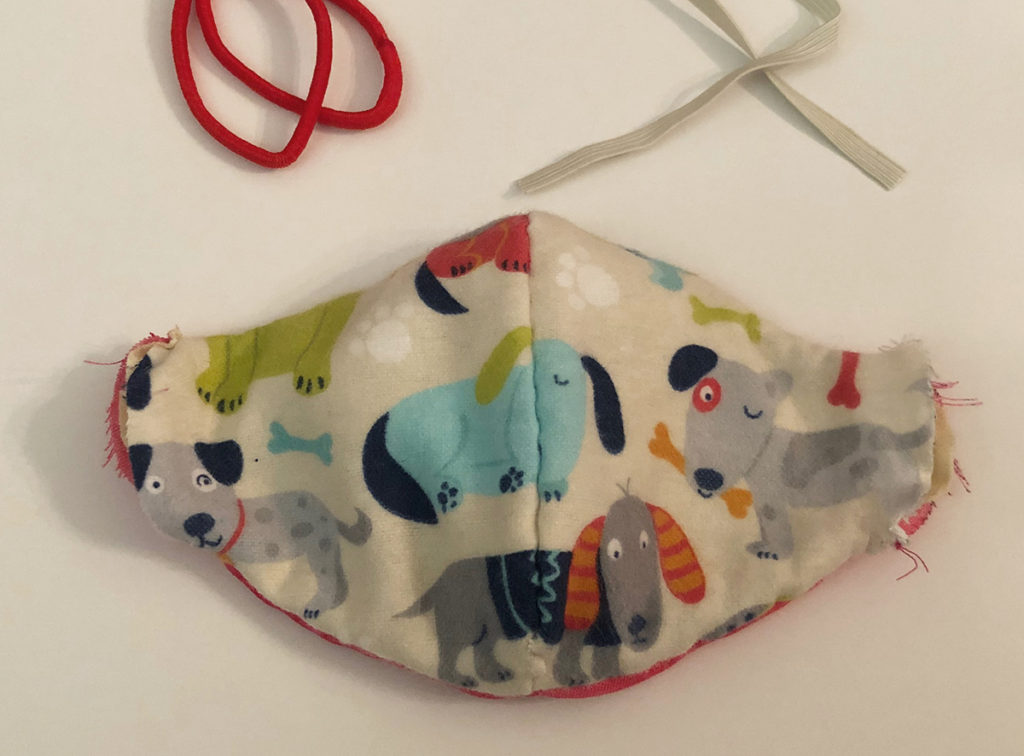
8. Grab the fabric inside the mask and pull through one of the sides to make inside out. Once you get all of it pulled through, you’ll have what the mask will look like.
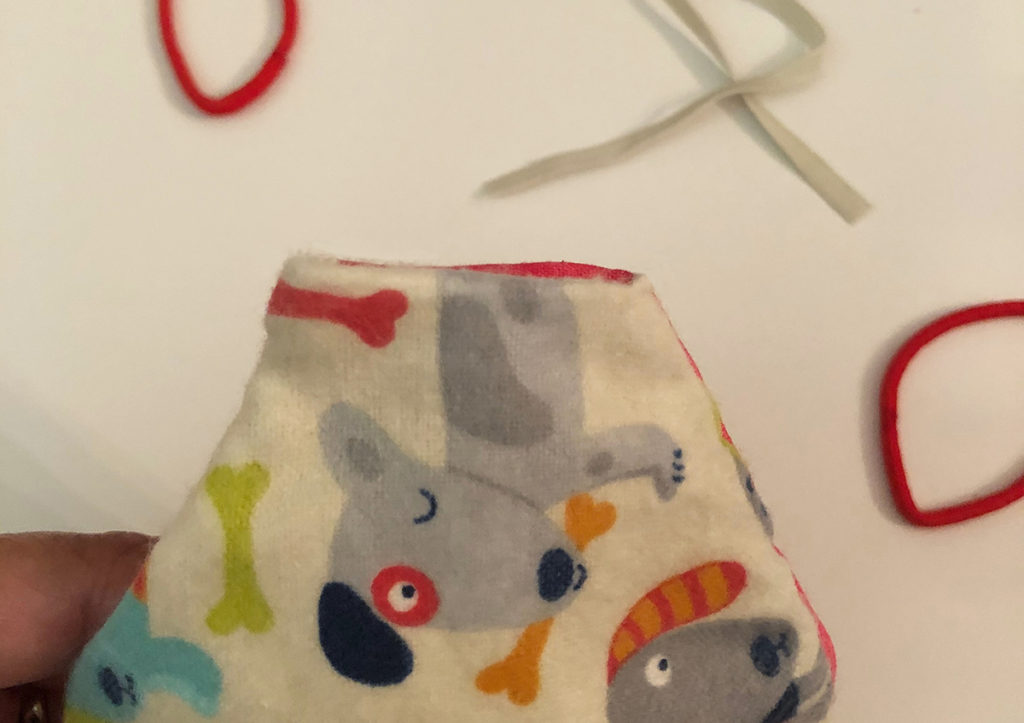
9. To sew up the sides, you’ll need to fold the fabrics in some. Start with the right side, place the elastic inside to the top of the side and start stitching it in. Stitch the rest of the side leaving enough space at bottom to put the other end of the elastic. This is the best time to test the mask on someone’s face to measure how much elastic you need to have them comfortably wrap around the ear. Once measured, finish stitching the side with the end of the elastic. Do the same with the other side.
Pro Mom Tip: Hair ties work pretty well for the comfort of kids if they fit around their ears. Emma prefers the hair ties over the elastic.
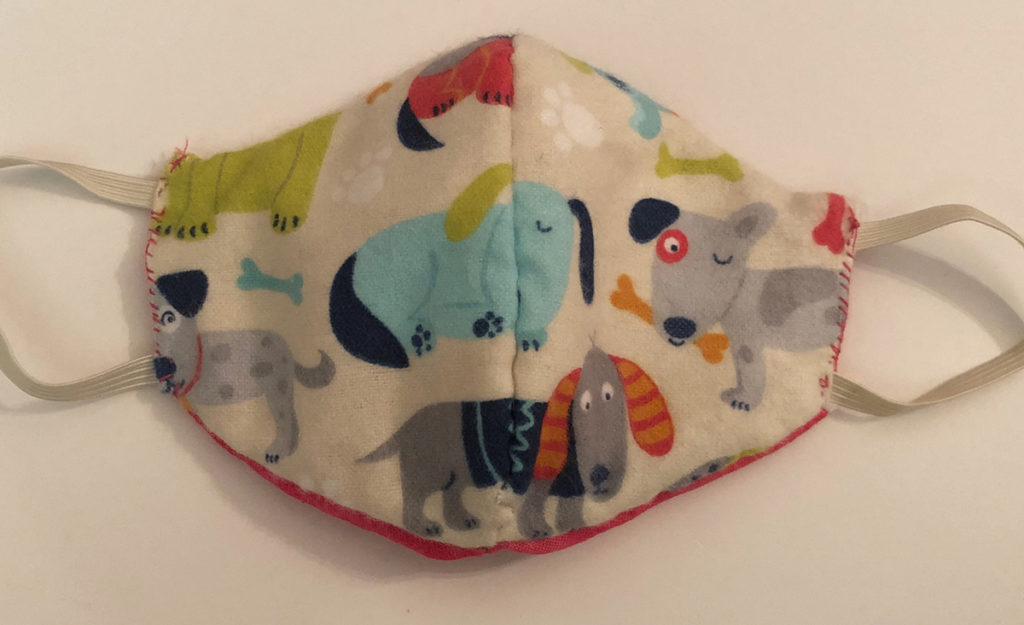
10. Once the sides are done, you have just finished your first mask.
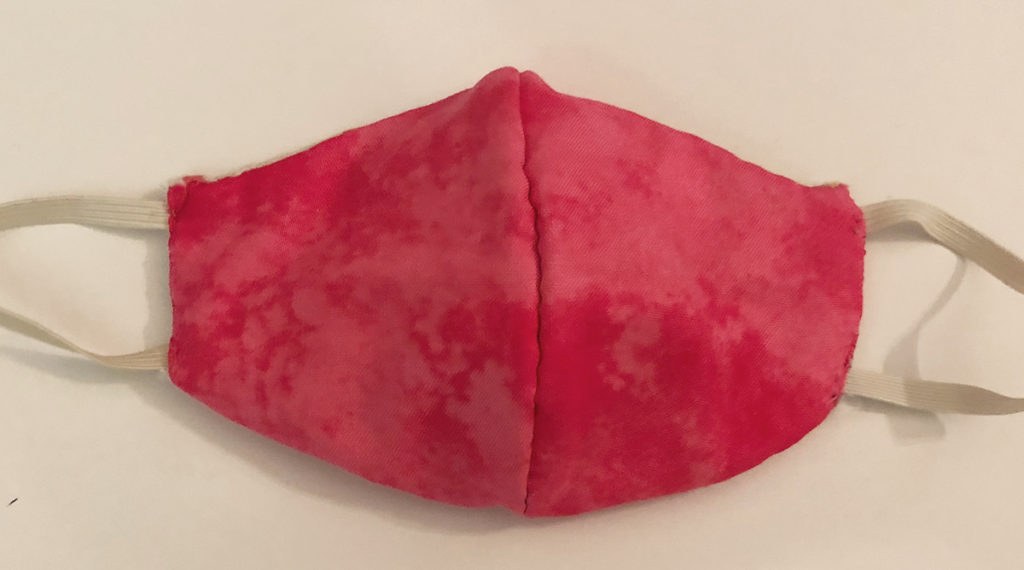
Congratulations, you did it. The mask you just made is fully reversible so you can wear it either way you want. The mask is also washable so make sure to choose only one side between washes so you don’t breathe in anything from the last time you wore it. I hope this was easy to follow, Everyone stay safe and enjoy this precious time with your family.
Love,
Jeannie
Leave a Reply