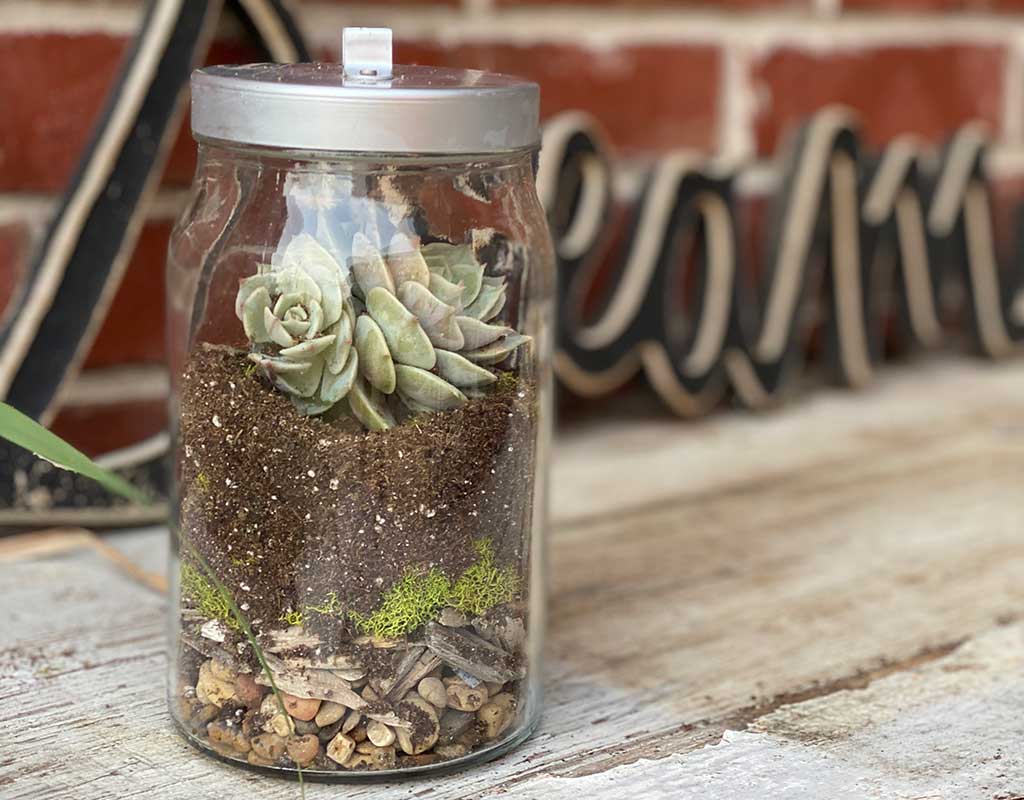
I love having plants indoors. The bright colors and greenery really make a room come alive. But they can be a lot of work and sometimes bad for your allergies. So a great alternative is a terrarium. They’re easy to make and only need watering every two weeks.
Inspired by William’s fourth grade teacher, I’ve put together this step-by-step tutorial to create a simple living terrarium at home. You probably already have everything you need, so it’s a quick project that takes less than 20 minutes.
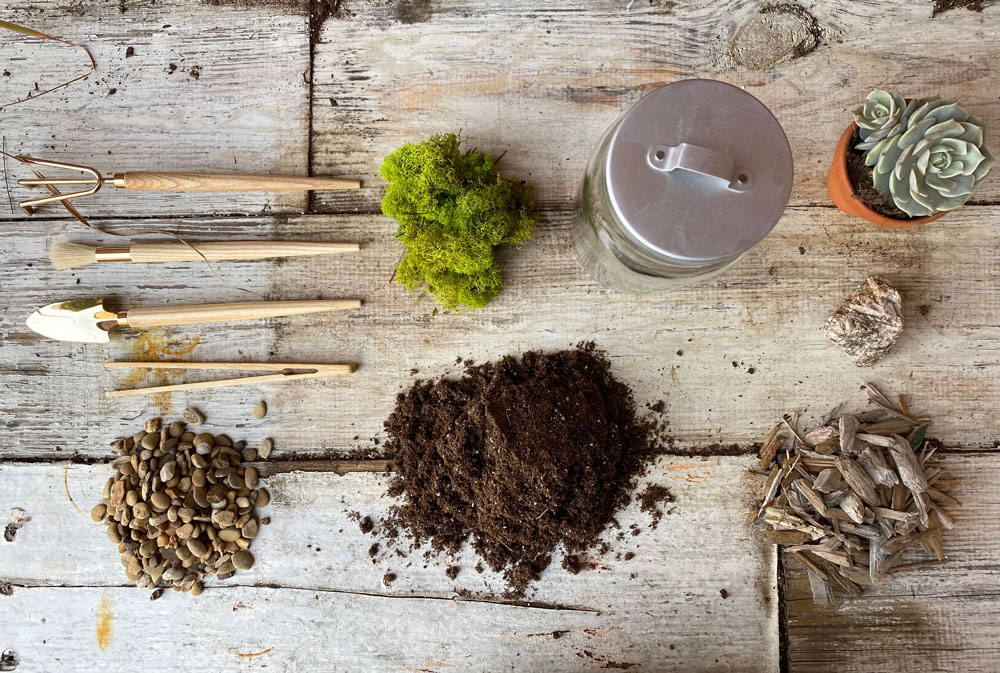
First gather your materials. We found an unused glass container from Ikea in the pantry. Anything clear with a lid will work. Here’s a full list of materials:
- Glass (or plastic) container with lid
- Terrarium Tools
- Small gravel or rocks
- Wood chips
- Peat moss – optional
- Soil
- Small plant – succulents and cacti work well. Also, small ferns would be good.

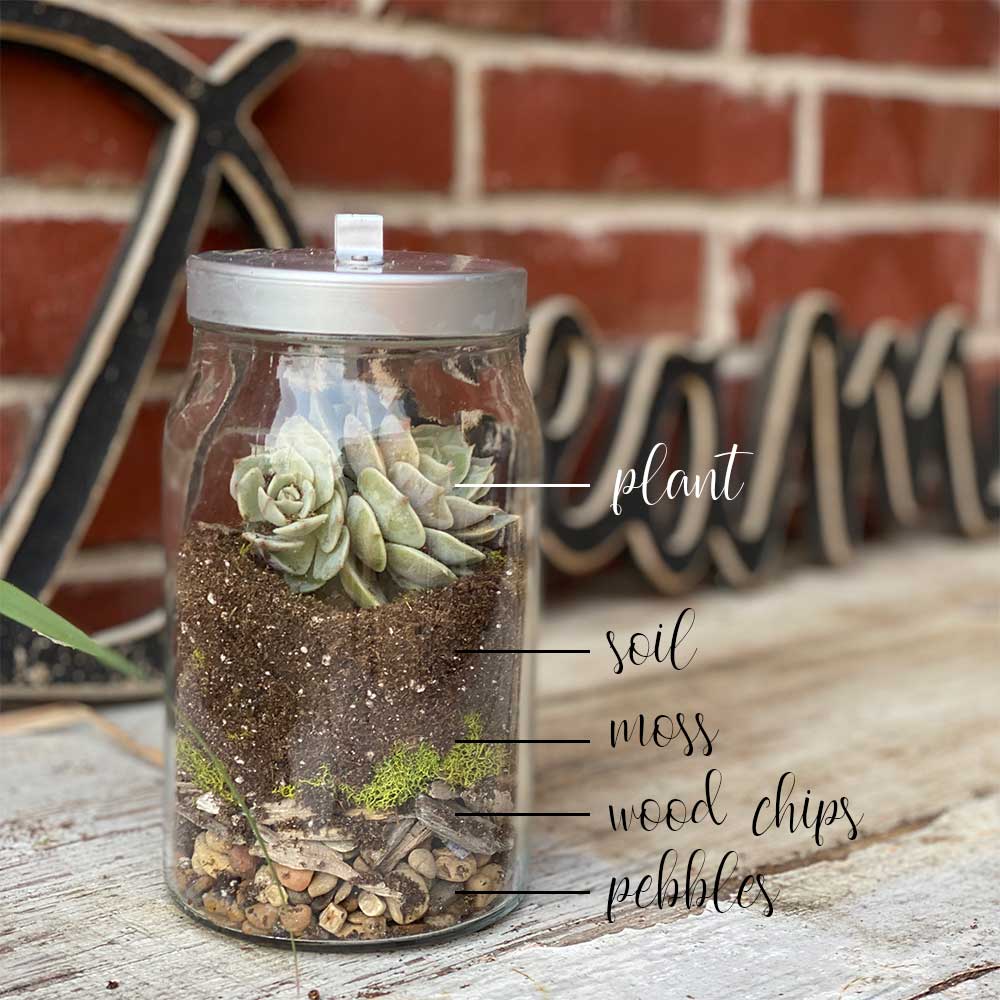
You’ll want to layer in each material one by one, starting with the small gravel or rocks at the bottom – these help with drainage.
Next add wood chips – this helps clean by filtering the water.
Add peat moss for color – but it’s totally optional. It also acts as a screen preventing the soil from going to the bottom.
The top layer is 2-3 inches of soil to hold the plant in place.
Then add your plant, rocks and other decorations to the terrarium.

The last step is to water your plant and put the lid back on. FInd a sunny spot near a window to make sure it gets enough indirect sunlight. These plants are pretty low maintenance and only need to be watered every two weeks.
Pro Mom Tip: Be sure not to overwater and cause mold. If there is a lot of condensation on the outside, leave the lid off for a bit so some of the water can evaporate.
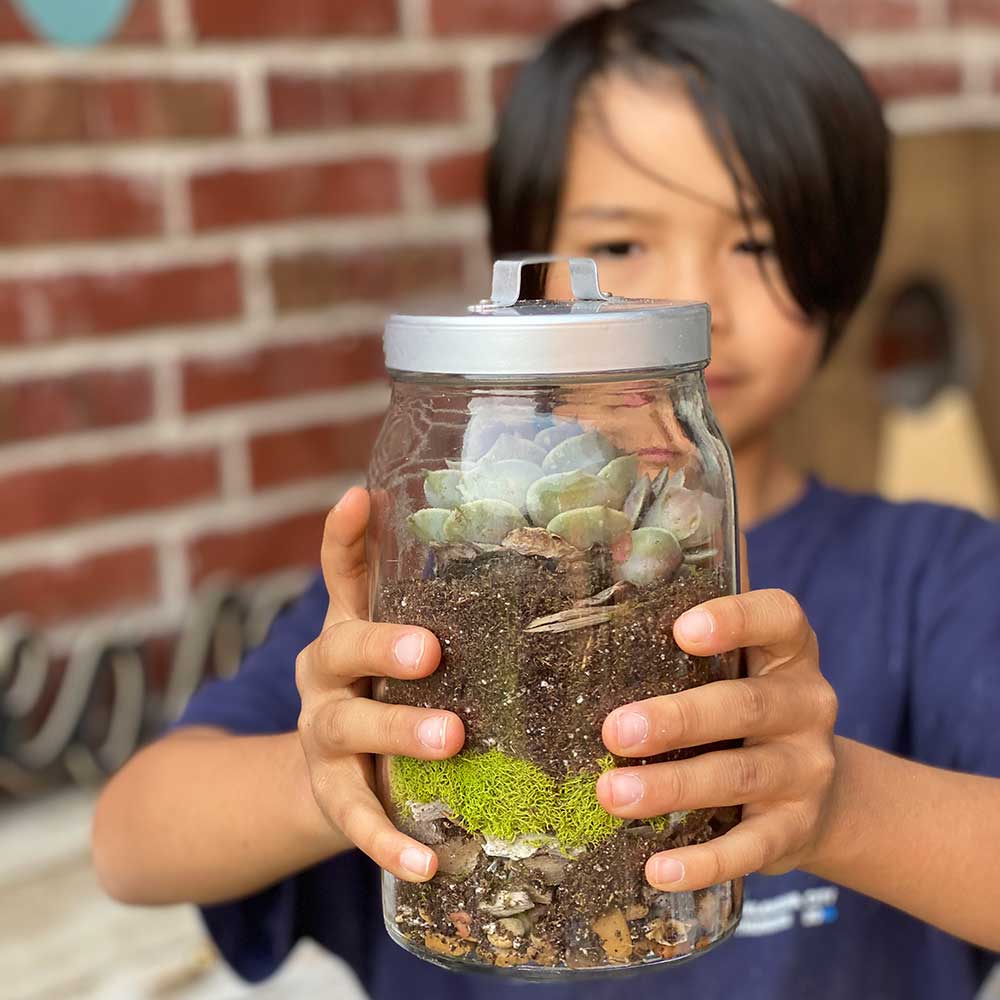
This is a great project to do with the kiddos. They can each build their own terrarium and then watch them grow.
Love,
Sara

Leave a Reply