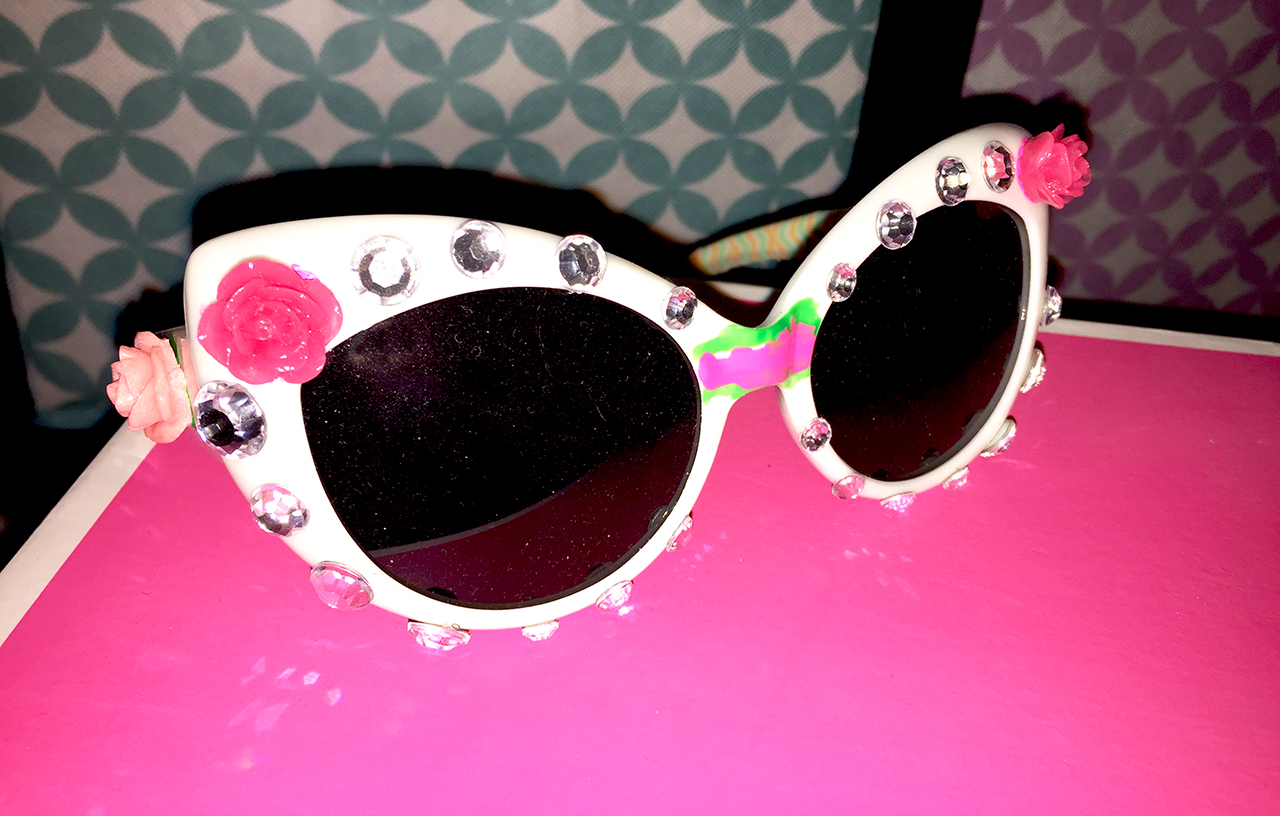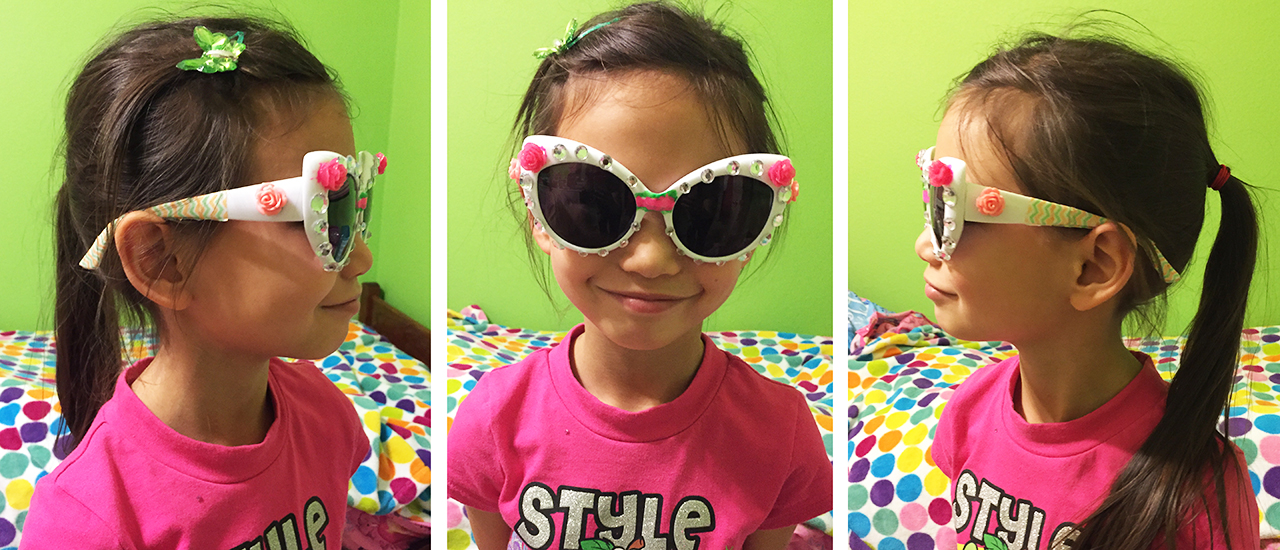
This DIY comes to you from a gift Emma received. With summer slowly approaching and the weather warming up, this is the time kids will want to wear sunglasses more. How fun would it be for them to wear sunglasses they designed that also show off their own personality?
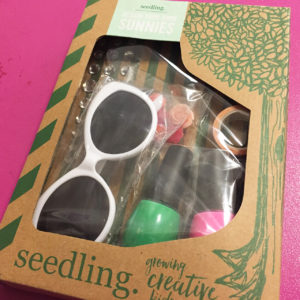
These one-of-a-kind sunglasses won’t be confused with anyone else’s. This DIY kit from Seedling was a gift that Emma has been dying to use. Seedling is a great company that specializes in creative gifts for kids, and the kits come with everything you need in one box. Who doesn’t love a DIY that comes with everything you need in one box. All thoughts and reviews are my own and are not a paid endorsement.
Unfortunately, Seedling doesn’t sell the DIY Sunnies kit anymore, but it’s still an easy project to put together with one trip to the store. Here are steps and basic supplies you’ll need.

SUPPLIES
- Sunglasses – any plastic, inexpensive kids sunnies in white or any solid color. (Even an old pair will work.)
- Nail polish – all the colors you would want to paint with (you can use what you have around the house)
- Washi tape – bold patterns and colors to decorate
- Add ons – gems or small items (such as the little flowers shown in picture)
- White paper
- Colors/markers
- Paper towel
- Hot glue gun with glue sticks or super glue

SKETCH YOUR DESIGN
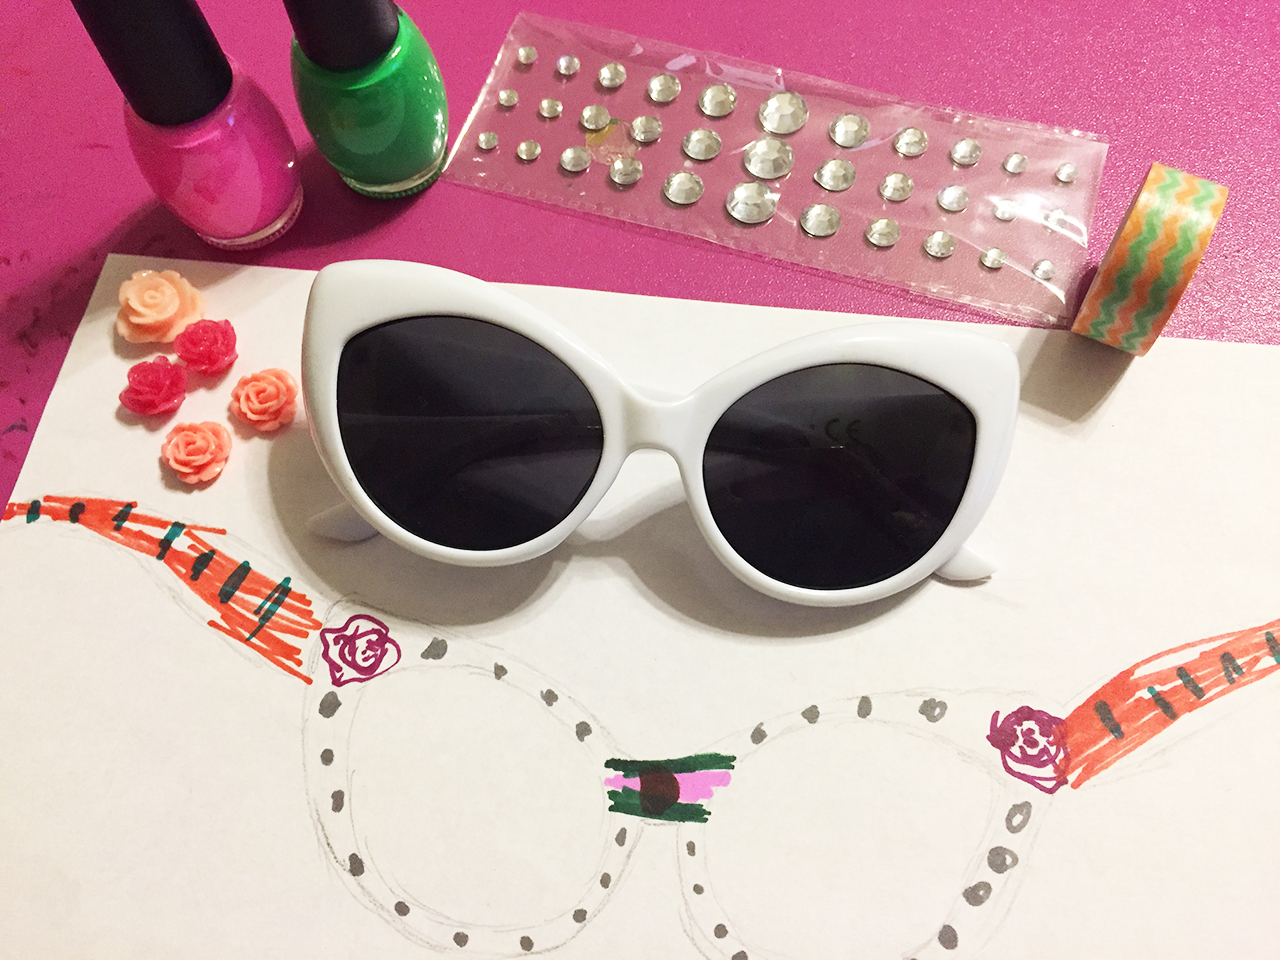
1. To start out, like any great creative ideas, you can sketch your design. If you like to be spontaneous with your design, then skip to step 4. Emma is one that likes to sketch out what she’s going to do first.
2. Take a look at your supplies and lay out your design using the markers.
Pro Mom Tip: I had to draw a simple outline of sunglasses for Emma to draw on.
3. Once you’re satisfied with the design, it’s time to create.
CREATING YOUR DESIGN
4. Lay down your paper towel and put your sunglasses on top.
Pro Mom Tip: This step is really to protect your table from nail polish.
5. Lay out all of your supplies to make sure they’re easy to get to.
6. Start with the washi tape. Make sure it sticks well as you create your desired design.
Pro Mom tip: This will start to undo over time, so avoid wrapping it around the whole sunglasses.
7. Next, start using the polish. Nail polish is great since it comes with it’s own brush. Paint your design onto your sunglasses one color at a time. Let it dry completely between coats.
Pro Mom Tip: If you have colors that touch, paint one first and let it dry before applying another color.
8. Once you’re done painting and it’s completely dry, move on to adding gems and other embellishments. If the embellishments aren’t too heavy, you can use the nail polish to stick them onto the sunglasses.
Pro Mom Tip: To better secure the embellishments, you can use a hot glue gun or super glue.
9. Once you are finished decorating, let everything dry overnight.

The next morning, you’re ready to show off your one-of-a-kind sunglasses. I hope you and the kids enjoy these DIY sunnies. Try a summer crafts party for all the kids to create their own sunglasses that show off their unique personality. These would also make great party favor or gifts for others. If you and the kids love creating these, then check out our blog on how the kids can design their own personal t-shirts to express their own fashion.
Love,
Jeannie
Leave a Reply