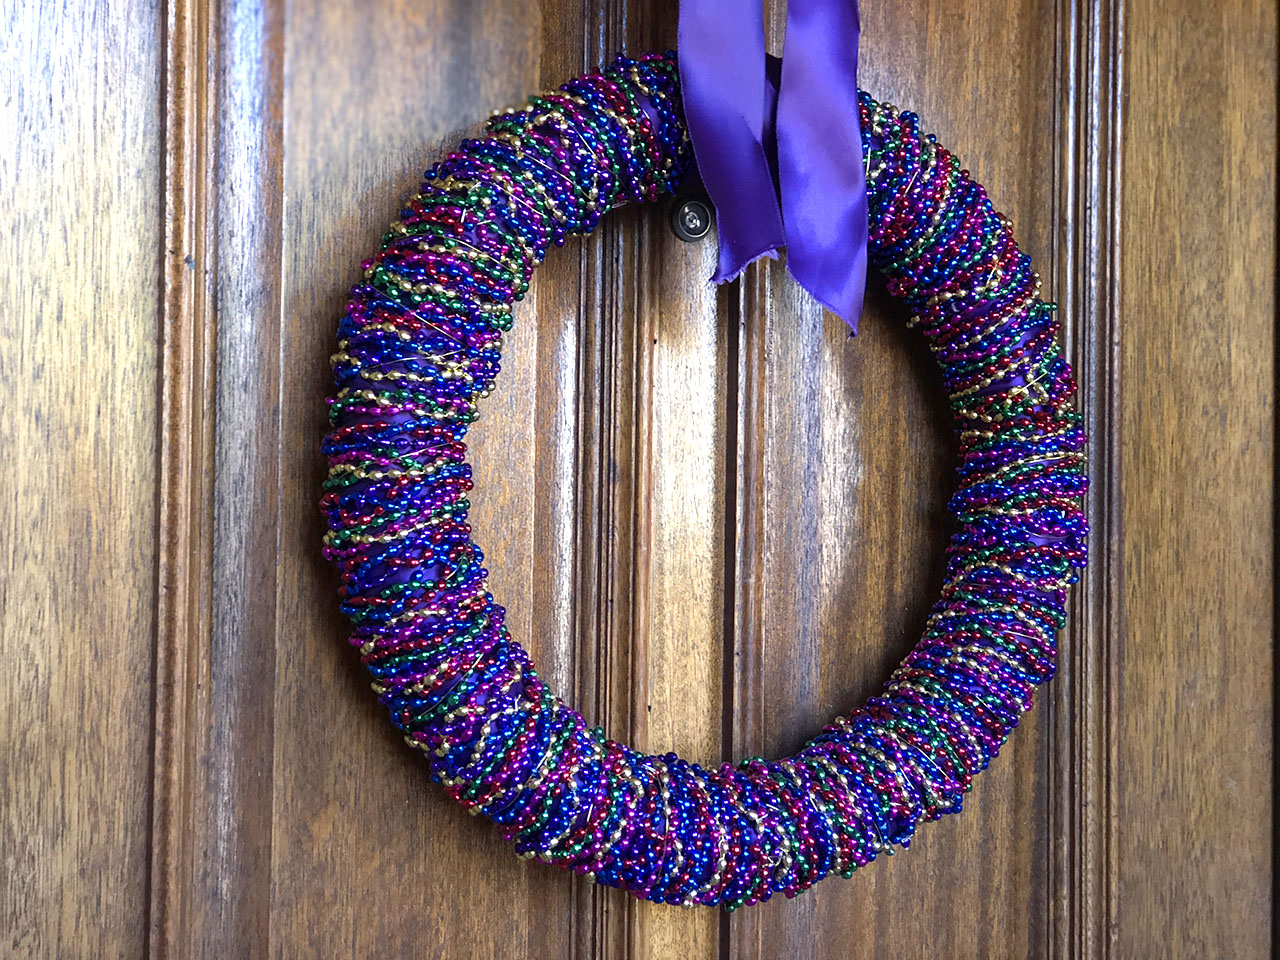
Laissez les bons temps rouler! Ok, I still haven’t made it to a real New Orleans Mardi Gras, but I do bring the NOLA to Texas with my handmade Mardi Gras wreath. This super-fun DIY is brought to you from our good friend Courtney. Here’s what you need to get started:
- A girlfriend or two – make it a girl’s night!
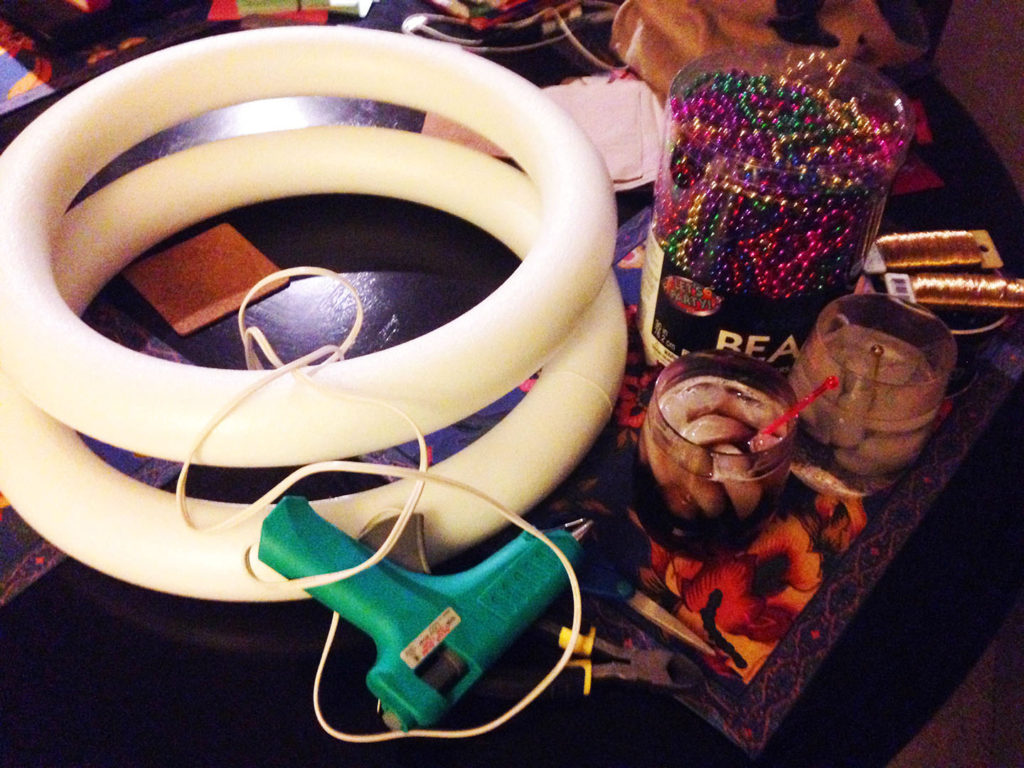
- One foam wreath form from you local craft store – make sure you download the 40% coupon first!
- Pretty ribbon – at least 2in wide. I went with a lovely satin purple since it’s a Mardi Gras classic.
- Mardi Gras beads – one bucket from the party store should do it. Or if you have a bunch hidden in your closet – much respect.
- Floral wire
- Wire cutters
- Hot glue gun and glue sticks
- Scissors
- Small T-pins
- Your favorite adult beverages
- A great Spotify playlist – follow my Best of 90s and 00s R&B here
 You’ll definitely want to make sure you have the girlfriend(s), drinks and music to start. It’s imperative for any Mardi Gras craft and your wreath just won’t be the same without it.
Here are the steps:
1. Prep the wreath: Start by wrapping the foam wreath with the ribbon you bought and secure with a line of hot glue. This will hide the white foam with the gorgeous ribbon and camouflage any thin spots of beads.
2. Wrap the beads: Snip the beaded necklace so that you have a single long strand. Use a T-pin to secure one end and then wrap the beads widely along the wreath. Begin with the next strand of beads and wide in a tight, random coil.
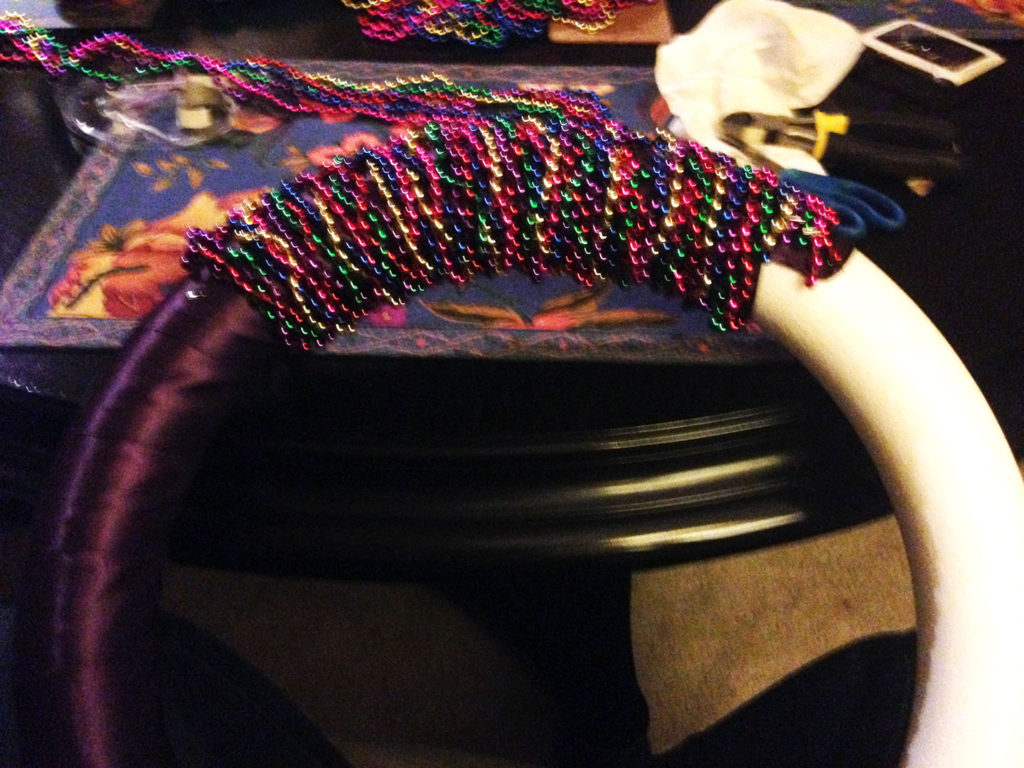
Apologies for the poor photography. We couldn’t compromise on the mood lighting.
3. Keep on wrapping: Continue wrapping with beads until the wreath is completely covered. Use floral wire and wrap around again to secure the beads in place. This is really just extra insurance so they won’t fall off.
4. Hang it up: Finish off the wreath with a large bow and hang on your door.
Enjoy and let the good times roll!
Love,
Sara
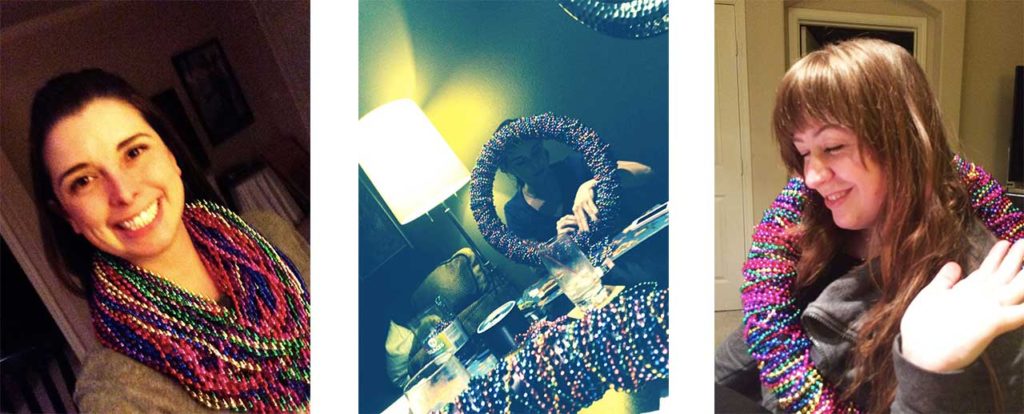
Before. During. After. This DIY originally brought to you by our girl Courtney (above right)
Leave a Reply