Still getting mostly rainy days? I know we are, so here’s another edition of our Science Club Series on weather. Each post will provide the scientific background, supply list and directions. So let’s get started – time to create thunder and lightning.
I have created a simple downloadable print out of The Scientific Method that can be used for any of the Science Saturday Experiments on our blog. This can be especially great for older kids who can fill out their own Scientific Methods.
QUESTION
What causes thunder and lightning and which happens first? (my simplified explanation)
Thunder is the sound caused by lightning. Lightning is a huge discharge of electricity, and this electricity shoots through the air, causing vibrations to be formed. You see lightning when a spark of moving electrons races up or down between a cloud and the ground. Thunder is the sudden increase in pressure and heat from lightning that produces rapid expansion of the air causing a collision with the cold air surrounding it.
HYPOTHESIS
Thunder: Ask your child what will happen with increase pressure and a rapid expansion of air collides?
Lightning: Ask your child what will happen when a large amount of electricity is collected?
EXPERIMENT
Here are the supplies needed to create thunder and lightning
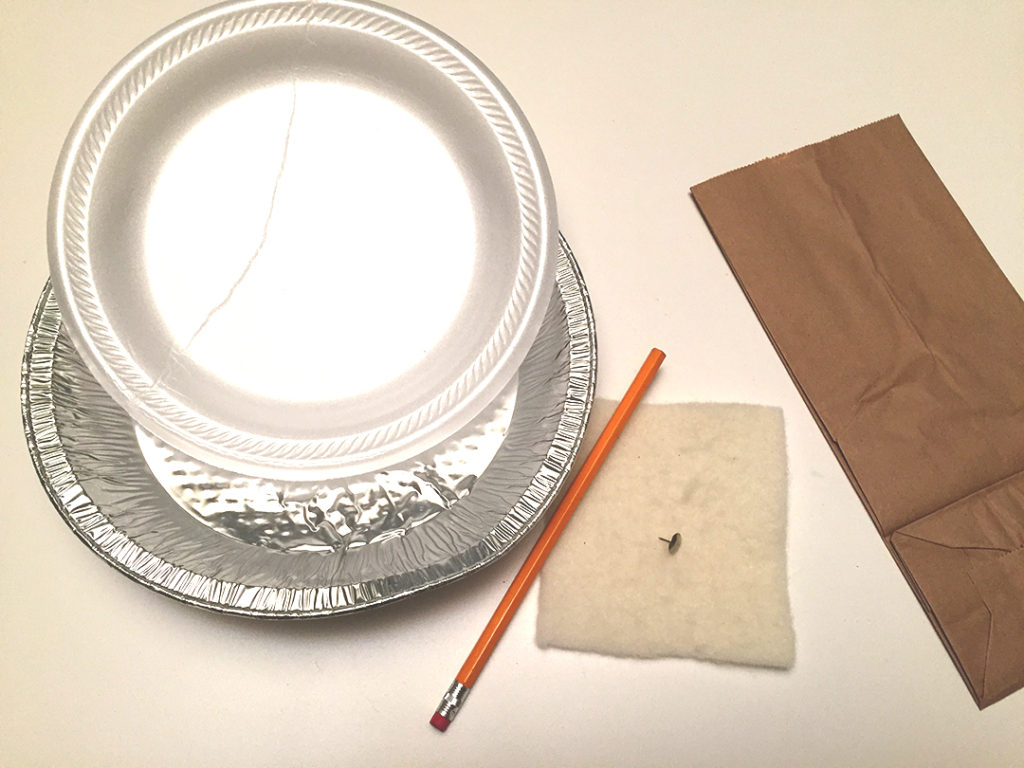
Thunder:
• Brown paper bag for each person
Lightning:
• Styrofoam plate or recycle take out container
• Tape
• Aluminum round pan
• Unsharpened pencil with eraser
• Metal thumbtack
• Wool cloth (you can use wool hat, scarf or gloves)
Time to get started. We are going to begin with thunder.

1. All you need is the brown paper bag.
2. Wrap your hand around the opening of the bag tightly but leave a tiny hole for you to be able to put your mouth to.
3. Blow air into bag to fill it up and than seal air tightly with your hand. The bag represents the expansion of air.
4. Softly pat the bag with your other hand to show a small collision of pressure. This represents soft sounding thunder.
5. Now blow the bag back up, hold tightly sealing the air and use your palm to quickly smack the bag colliding it between both hands. This should represent when you hear really loud thunder.
Pro Mom Tip: You can repeat the soft thunder at different pressures before you do the loud thunder. The bag will end up with a big hole once you’ve done this step, so you won’t be able to reuse.
Time to create lightning now.
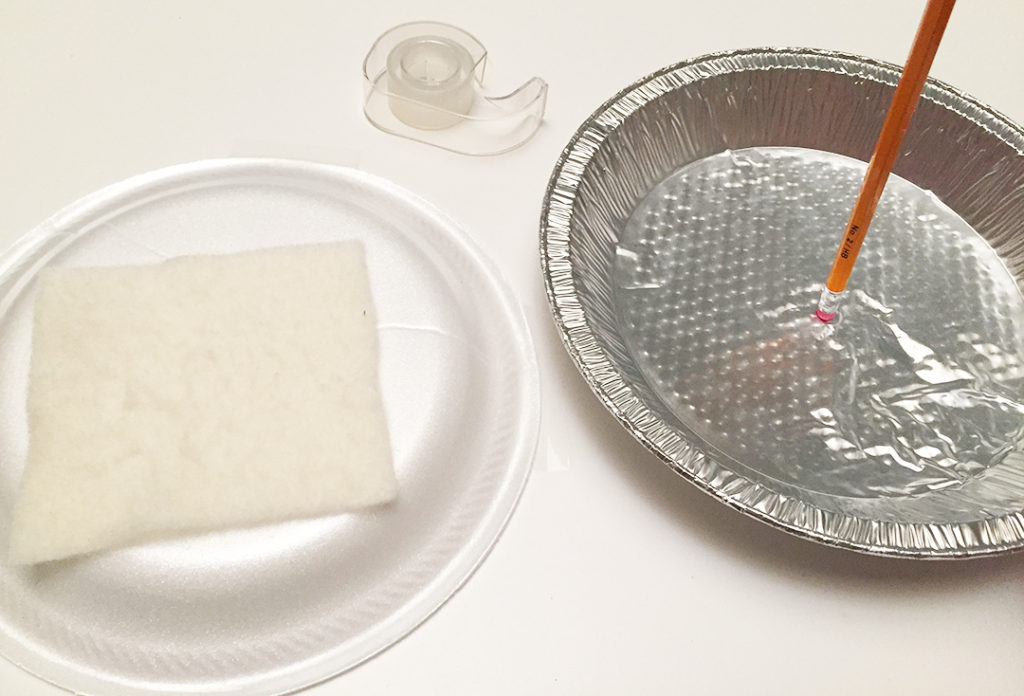
1. Tape the styrofoam plate upside down to a non-metal surface in a room where you can either dim the light or turn the light off and use a night light.
Pro Mom Tip: Wooden tables work the best but any surface that isn’t metal or has metal near it will work. The metal interferes with the static electricity.
2. Push a thumbtack into the center of the underside of the aluminum pan.
3. Flip the aluminum pan upright so you can push the pencil eraser into the thumbtack to create a wooden handle.
4. Time to dim the lights in the room.
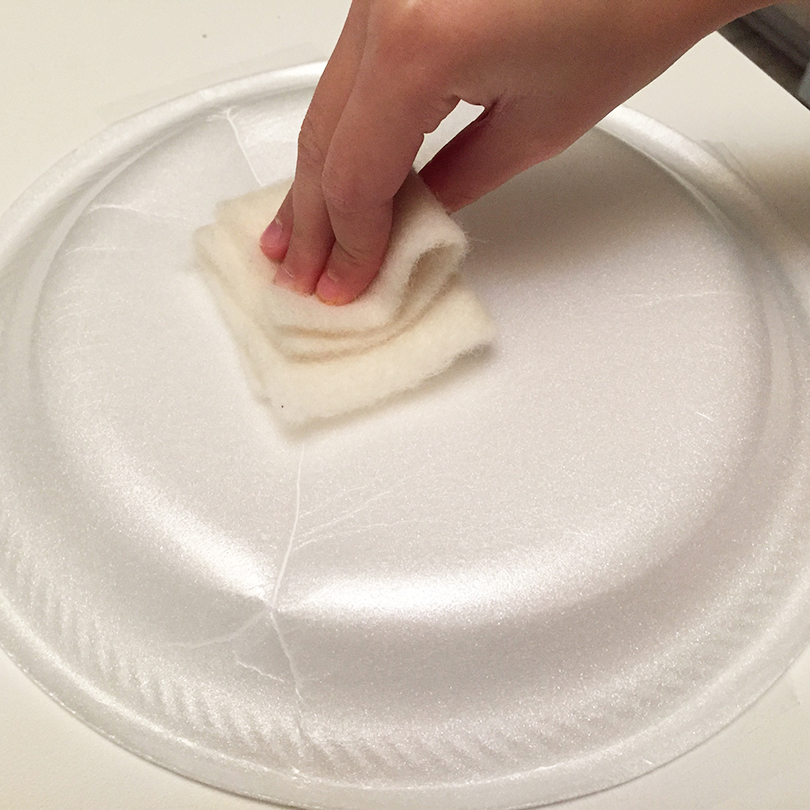
5. Fold up the wool and rub in circular motion fast and hard for at least 2 minutes onto the styrofoam plate. This will cause static electricity to form. Do not touch the plate while rubbing or your body will interfere with the static.
Pro Mom Tip: The longer and harder you rub, the more static electricity forms.
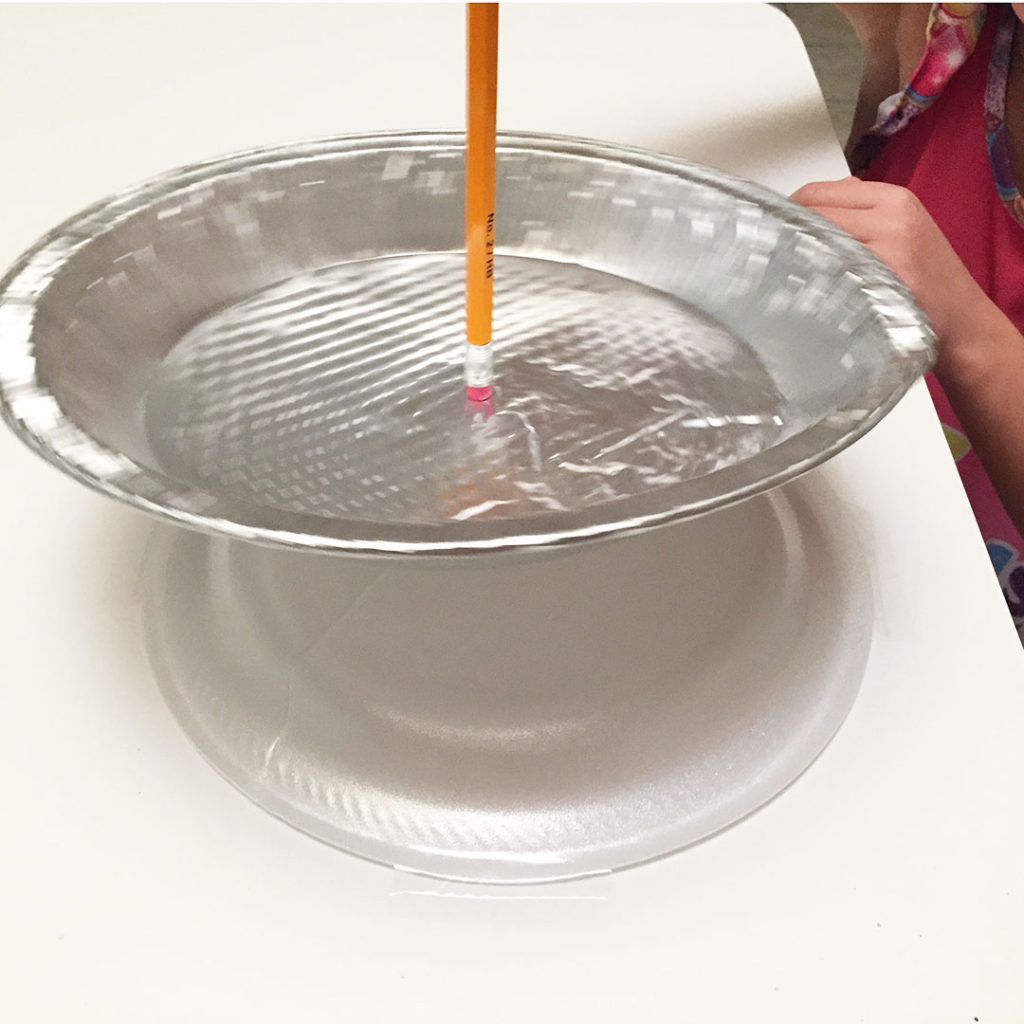
6. Now take your aluminum pan holding it only by the pencil and slowly hold it above the styrofoam plate. You should see sparks going from the styrofoam plate to the aluminum pan representing lightning. It’s pretty cool to watch.
Pro Mom Tip: Don’t touch the aluminum pan unless you want to get a slight shock.
RESULTS
This is the perfect time to have your child explain what was happening during the experiments. What happens when there’s a lot of pressure colliding with the expanded hot air? What happens when there’s too much electricity collected?
CONCLUSION
What did your child find out once the experiments are over? When pressure collides with expanded air, does it make a loud noise? Does electricity just go away or does it need to be released?
These are two fun experiments to do together to learn about thunder and lightning. If you enjoyed this experiment, check out our previous Rain Storm in a Cup Experiment.
Love,
Jeannie
P.S. Keep an eye out for our next Science Saturday! Tornado in a Bottle Experiment. This is an experiment the kids can keep around and show off.
Leave a Reply