One thing about living in Texas, the weather is constantly changing from cold to hot and back – usually in the same day. With all the temperature changes, it’s a great time to continue with our next Science Club Series on weather. Each post will provide the scientific background, supply list and directions. This experiment is easy for kids and extremely fun to watch. So let’s get started – time to create a thunderstorm.
I have created a simple downloadable printout of The Scientific Method that can be used for any of the Science Saturday Experiments on our blog. This can be especially great for older kids who can fill out their own Scientific Method.
QUESTION
What causes a Thunderstorm? (my simplified explanation)
When the lower level air is sufficiently warm and humid (warm front), and the higher altitude air is sufficiently cool (cold front), this causes a rapid upward movement of warm, moist air. This unstable air causes a convective cloud, so a thunderstorm is formed. When the warm air rises and meets the cold air, it condenses, releasing latent heat. The heat helps fuel the thunderstorm.
HYPOTHESIS
Ask your child what will happen when the blue meets the red?
EXPERIMENT
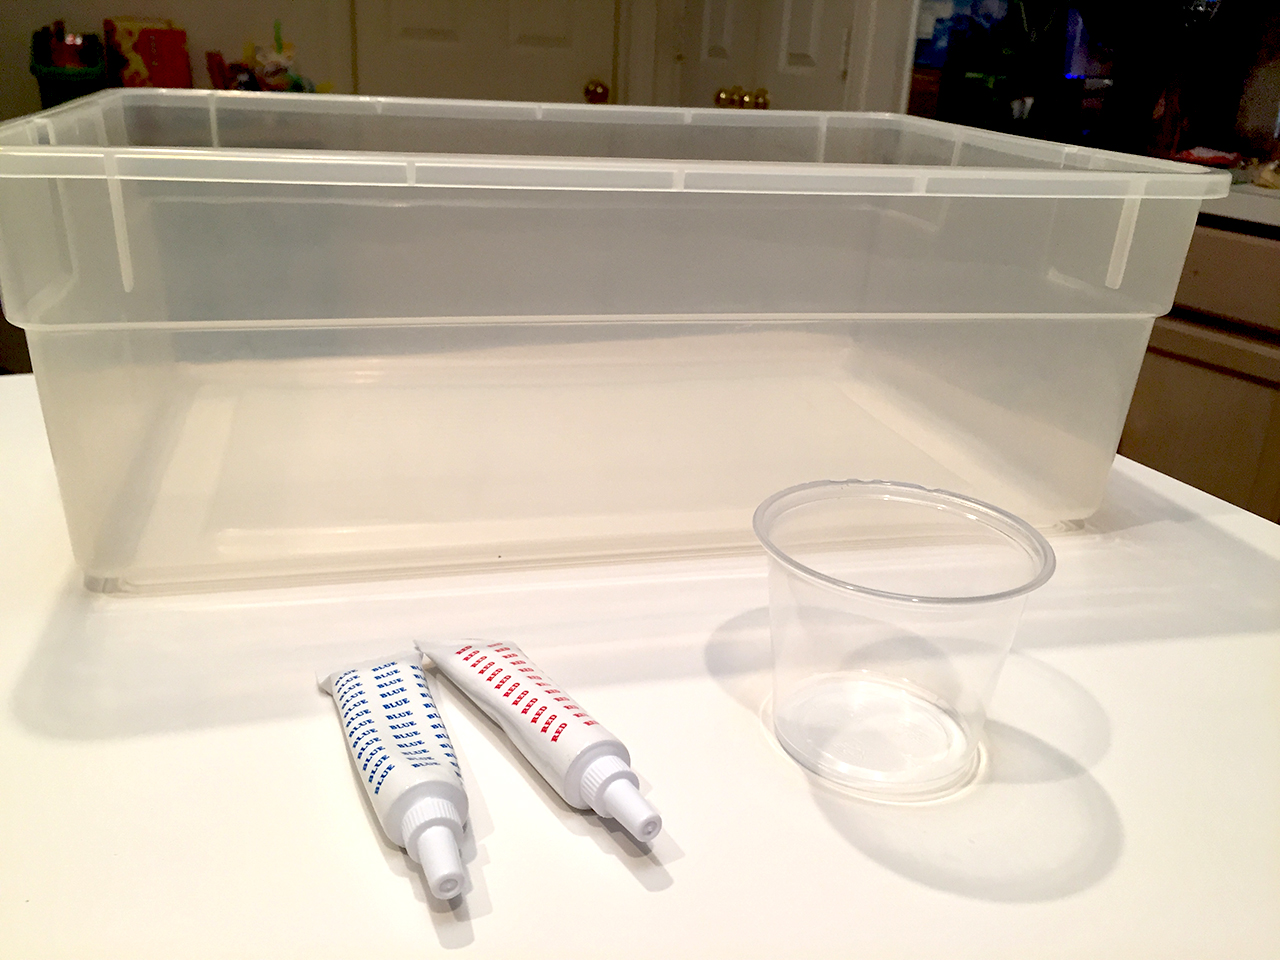
Here are the supplies needed to create your own thunderstorm.
• Clear plastic container (at least shoe box size or bigger)
• Water
• Ice cube tray (or we used little containers for bigger ice)
• Blue food coloring
• Red food coloring
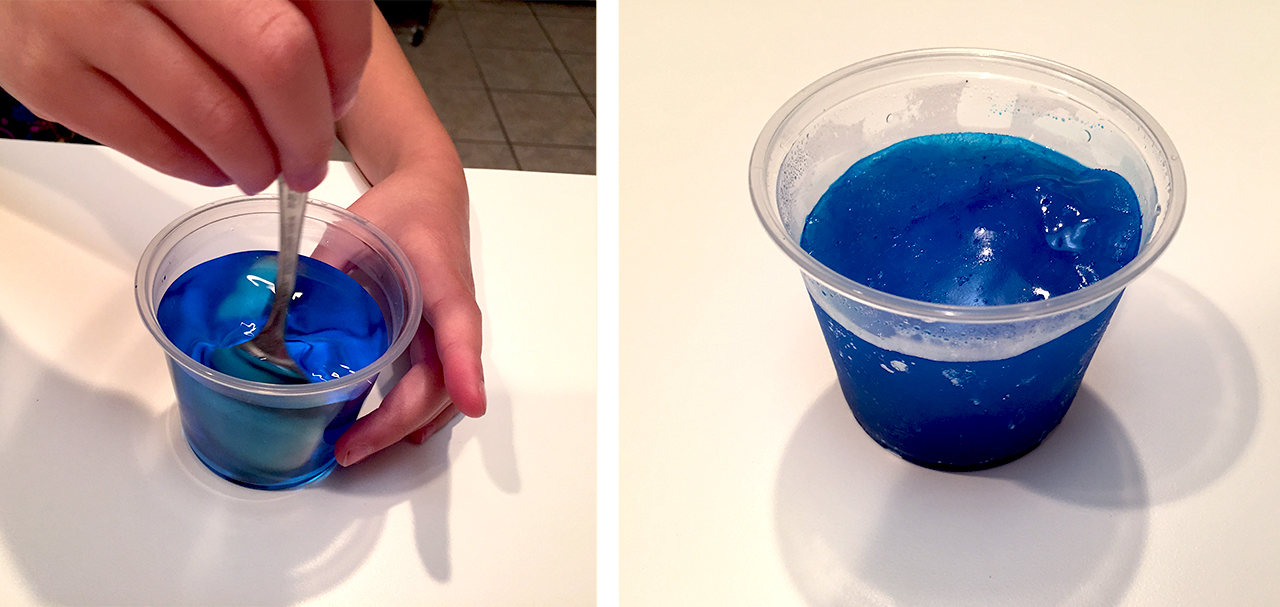
Note: Make the blue ice cubes the day before.
1. Fill your ice cube tray or container with water.
2. Add few drops of blue food coloring to the water and mix.
Pro Mom Tip: Make sure the colored water is a deep blue so you’ll be able to see it better.
3. Place the ice tray or container to freeze overnight.
Now let’s get started on the experiment.
4. Fill up the clear plastic container with warm/hot water about halfway and place on a flat surface.
Pro Mom Tip: Make sure the water is completely still before continuing. It works best for the observation if the water doesn’t move.
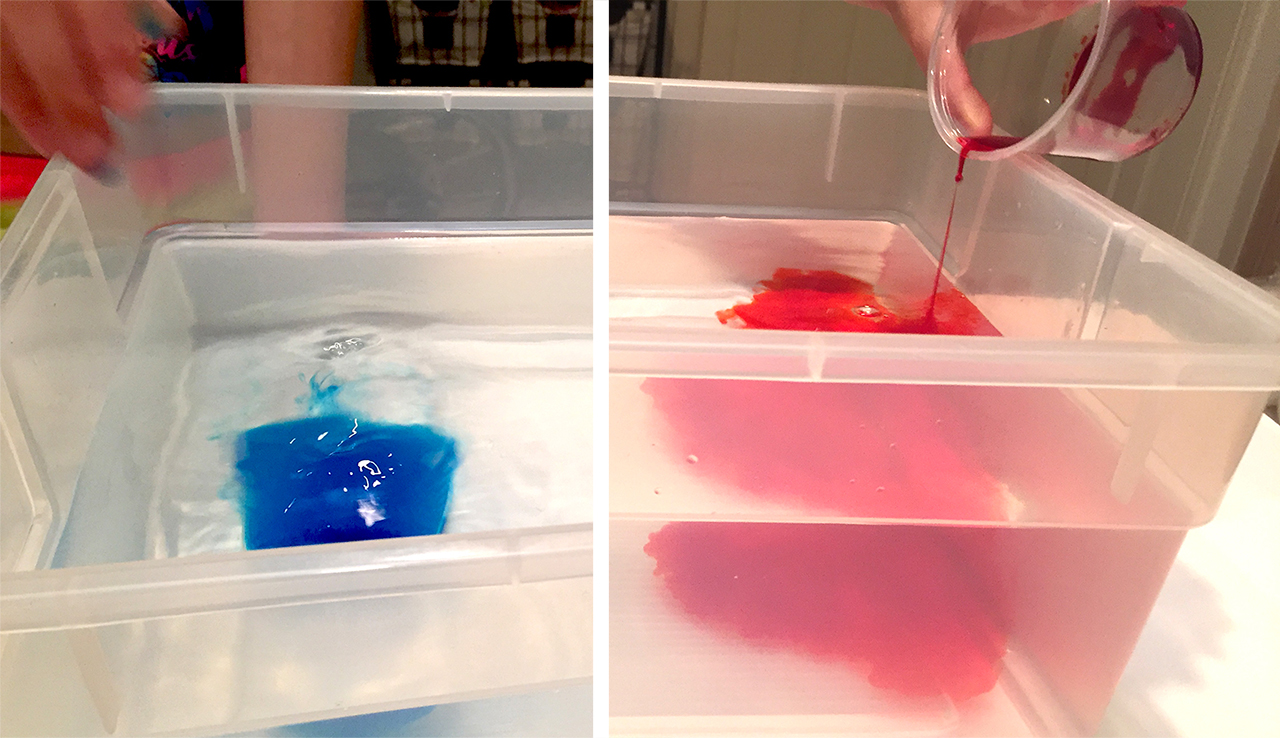
5. Gently add several blue ice cubes or a big chunk into one side of the container. This will represent your cold front.
6. Add several drops of the red food coloring to the container on the other side. This will represent your warm front.
Pro Mom Tip: If you have food coloring gel instead, just add it to a small amount of water and pour that in.

7. Now just watch what happens with the cold and warm fronts.
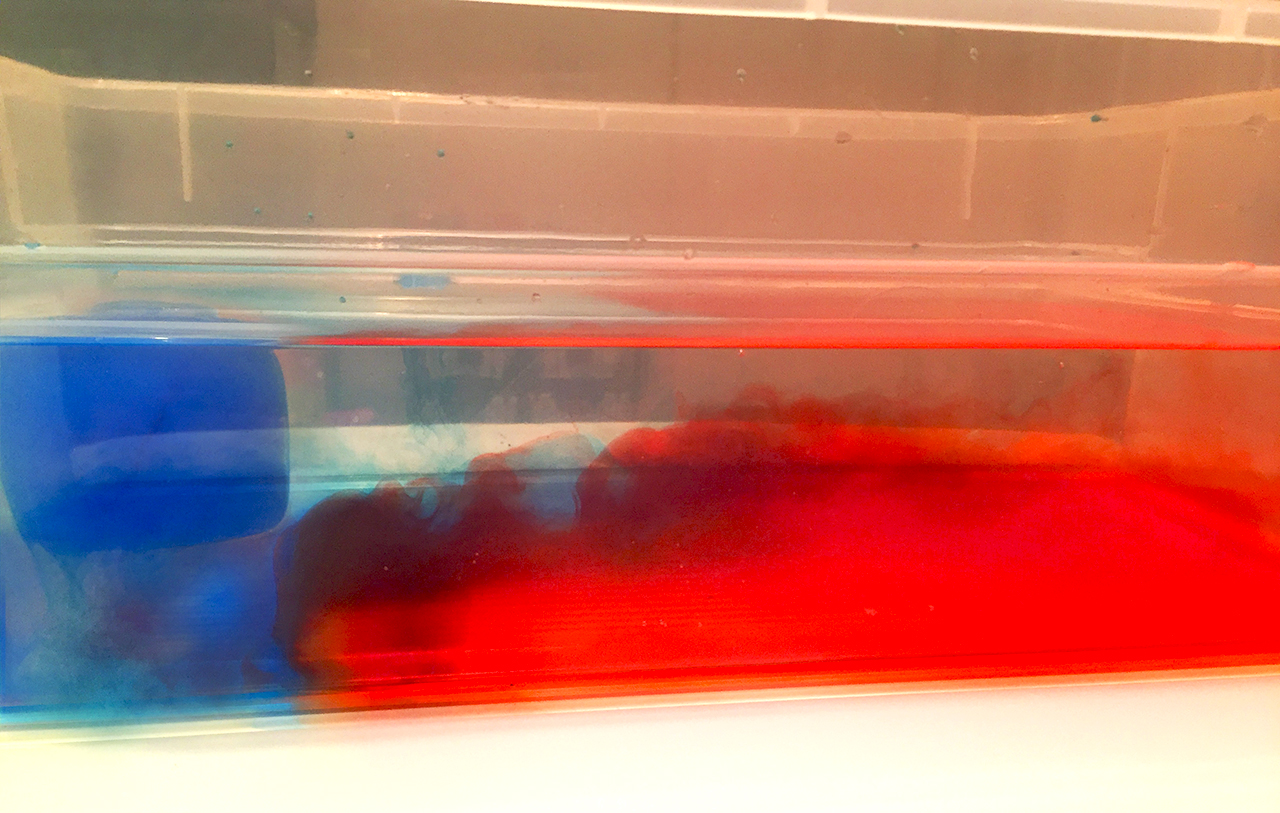
8. You should see the red coloring rise and the blue pushed down to the bottom of the container. Water is flowing from one side to the other and heat is being transferred, causing a convective cloud forming a thunderstorm.
RESULTS
This is the perfect time to have your child explain what was happening during the experiment. Did the water do anything? What happened to the red food coloring and the blue ice cubes?
CONCLUSION
What did your child find out once the experiment was over? Can they see the different storm fronts moving? Did they see a thunderstorm forming?
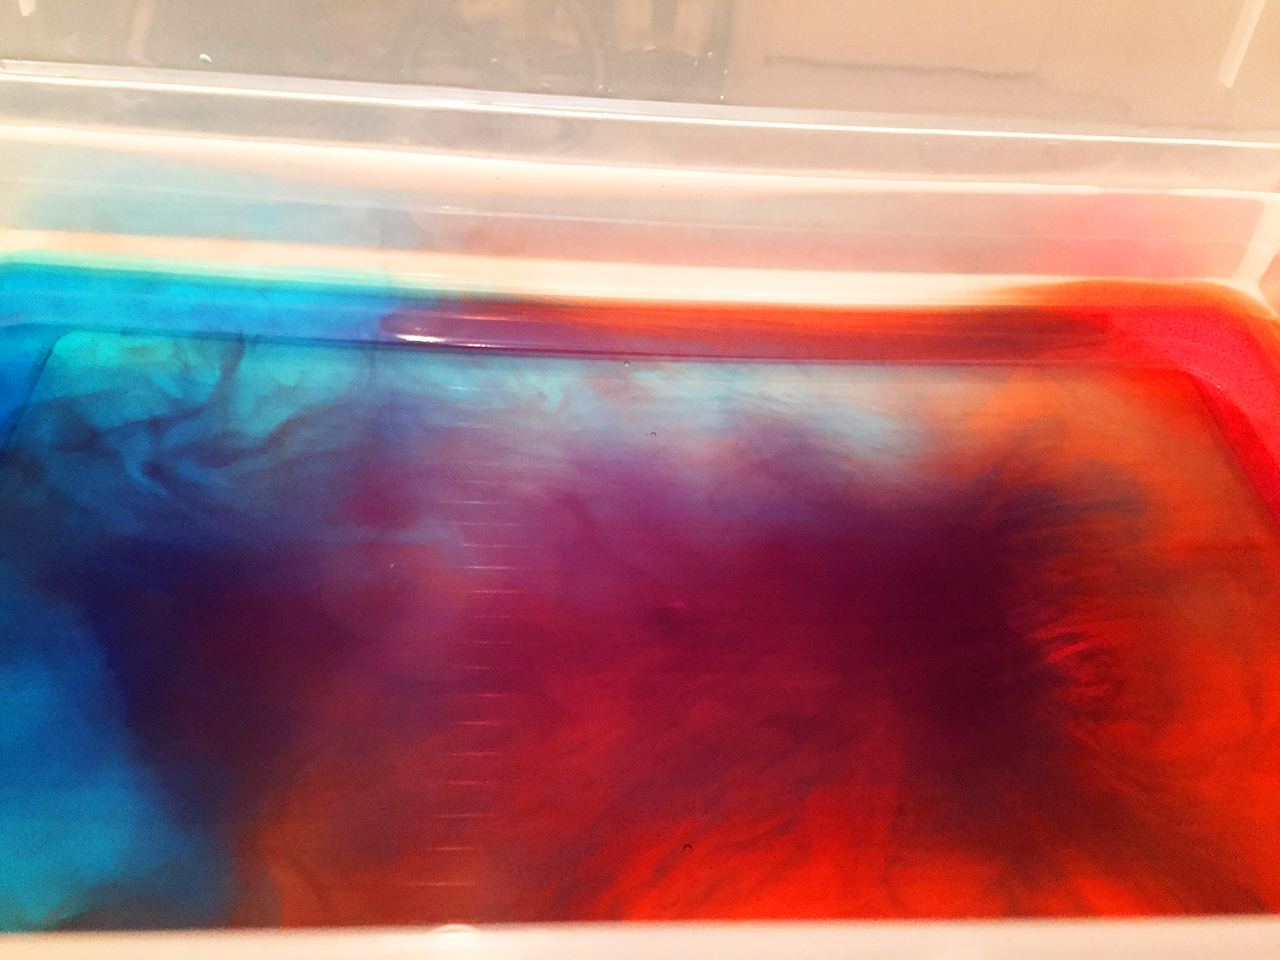
We really enjoyed watching the storm fronts move and collide. It’s also pretty cool to watch from the top of the container and see the colors swirl. If you enjoyed this experiment, check out our previous Science Saturday! Tornado in a Bottle Experiment.
.Love,
Jeannie
P.S. Keep an eye out for our next Science Saturday! Blue Skies and Rainbows. Another fun experiment for all ages.
Leave a Reply