Texas has gone from 80s, to rain to now the 30s all in just this week. While we stay out of the cold, here’s a great way to finish our Science Club Series on weather before we move into some experiments on color. Each post will provide the scientific background, supply list and directions. These experiments don’t take a lot of time to set up, but is fascinating for the kids. So let’s get started – time for blue sky and rainbows.
I have created a simple downloadable printout of The Scientific Method that can be used for any of the Science Saturday Experiments on our blog. This can be especially great for older kids who can fill out their own Scientific Method.
QUESTION
Why is the sky blue? (simplified explanation)
As the light from the sun shines into the atmosphere, most of the colors are able to reach the Earth’s surface uninterrupted. Blue light is scattered in all directions by the tiny molecules of air in Earth’s atmosphere. Blue is scattered more than other colors because it travels as shorter, smaller waves. When we look towards the sun at sunset, we see red and orange colors because the blue light has been scattered out through the day.
Why do you see a rainbow in the sky after it rains? (simplified explanation)
A rainbow is formed due to dispersion of sunlight by tiny water droplets suspended in the atmosphere after a rain shower. The tiny suspended water droplets act as small prisms. They refract and disperse the white light from the sun. These rays are then reflected internally before they emerge out of the water droplet and form a rainbow in the direction opposite to that of the sun.
HYPOTHESIS
Blue skies: Ask your child what will happen when the light shines into the water?
Rainbows: Ask your child what will happen when the light shines through the water bottle.
EXPERIMENT
Here are the supplies needed to create a blue sky and rainbows. Make sure to do these experiments in a room you can dim the lights in and close out the sunlight.
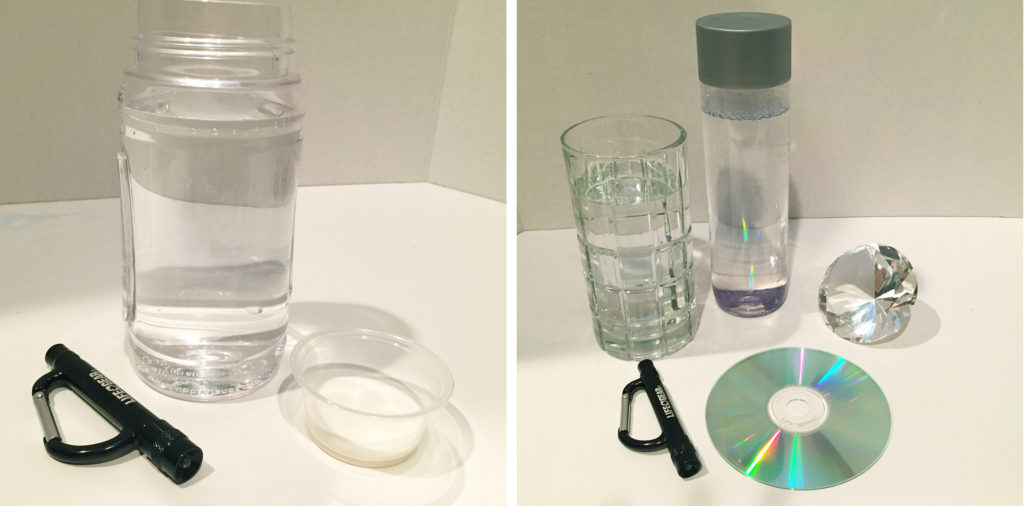
Blue Sky Supplies:
• Clear glass or plastic bottle
• Water
• Small amount of milk (white soap or milk powder should also work)
• A flashlight that emits white light
Rainbows Supplies:
• Plastic bottle filled with water
• Any type of prisms (we used a diamond paper weight and a glass with cut angles filled with water)
• CD
• A flashlight that emits white light
• White surface to see the rainbows on
Time to get started with simulating how sunlight passing through the atmosphere can turn the sky blue.
1. To represent the air, fill a glass up with water about 3/4 full.
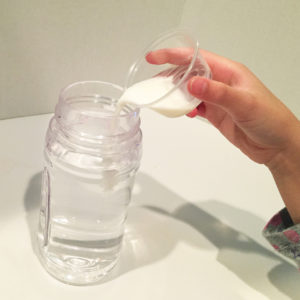
2. Pour in a little bit of milk and mix it up. The milk represents the gas and particles that are kept in our sky because of the atmosphere.
3. Dim down the room so the light from outside doesn’t shine on the water.
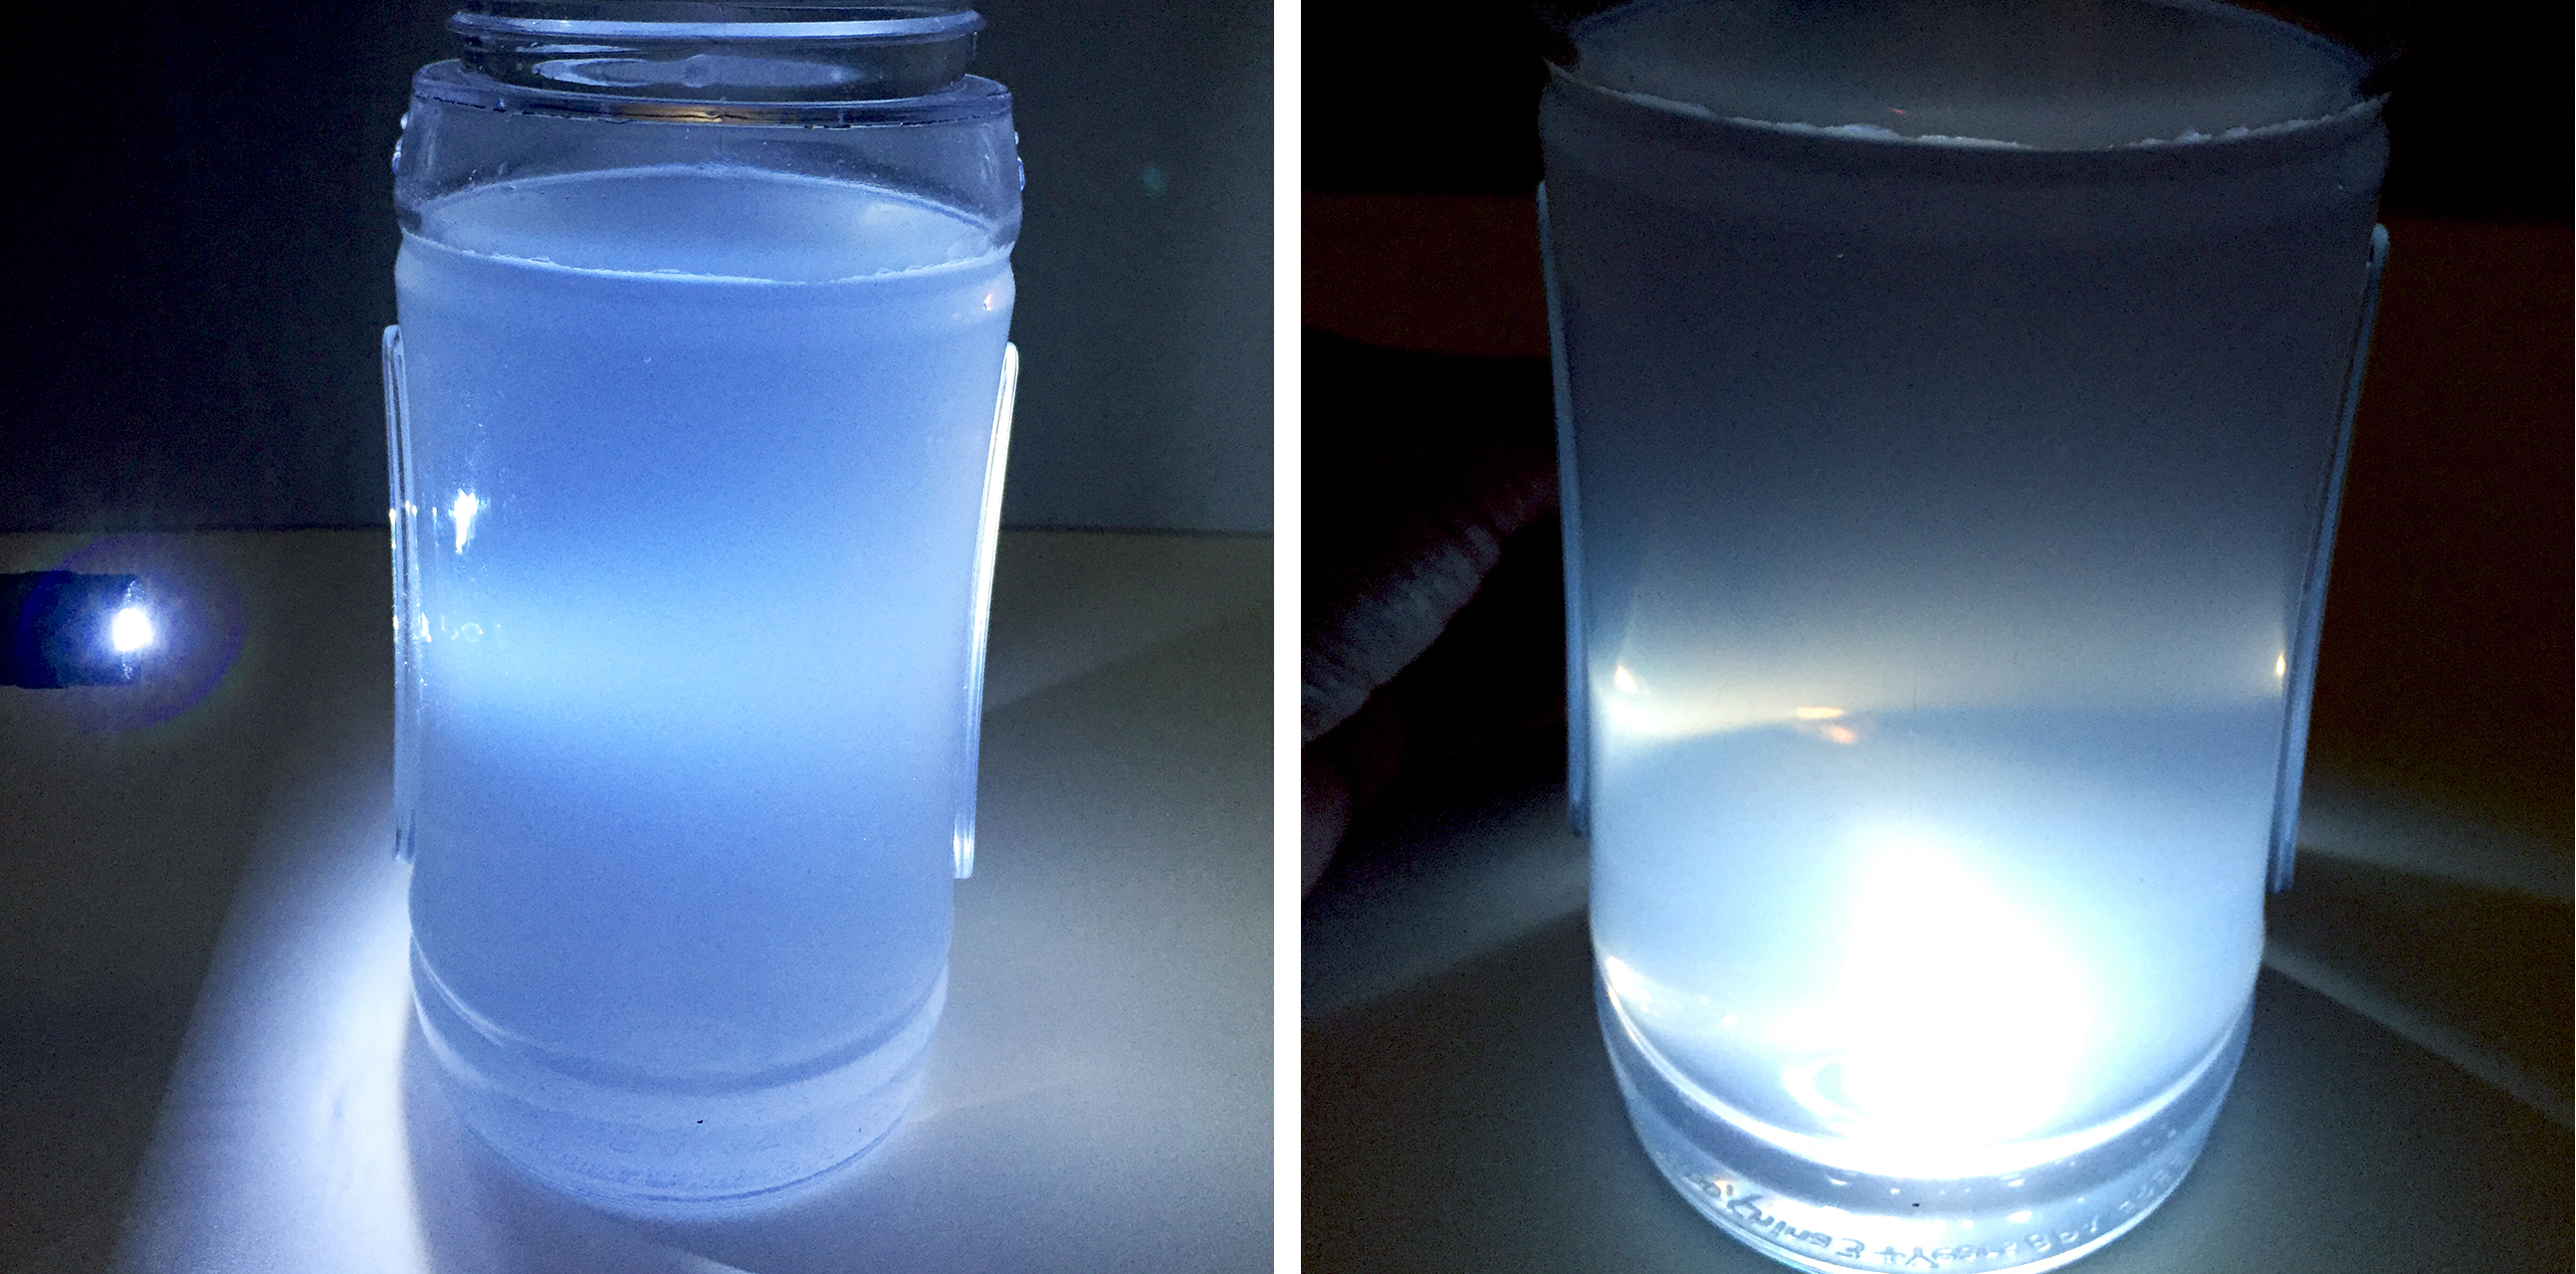
4. Take the flashlight and shine light on the glass at all the different angles to see what happens.
5. When you shine the light on the left or right side, you could really see the blue tint.
Pro Mom Tip: I noticed you can really see the blue tint when shining the light from under the water or seeing it from your phone as I was taking pictures.
6. When you looked right at the light, you should see a little blue tint above the light but some yellow and orange around.
7. As you move the light down, you’ll start seeing more of a sun set.
Now it’s time to make rainbows. This experiment is for the kids to try anything they think will create a rainbow. These are just the few items we tried.
1. You need to have a white surface to really be able to see the rainbows.
2. Dim down the room so the light from outside doesn’t interfere with the flashlight.
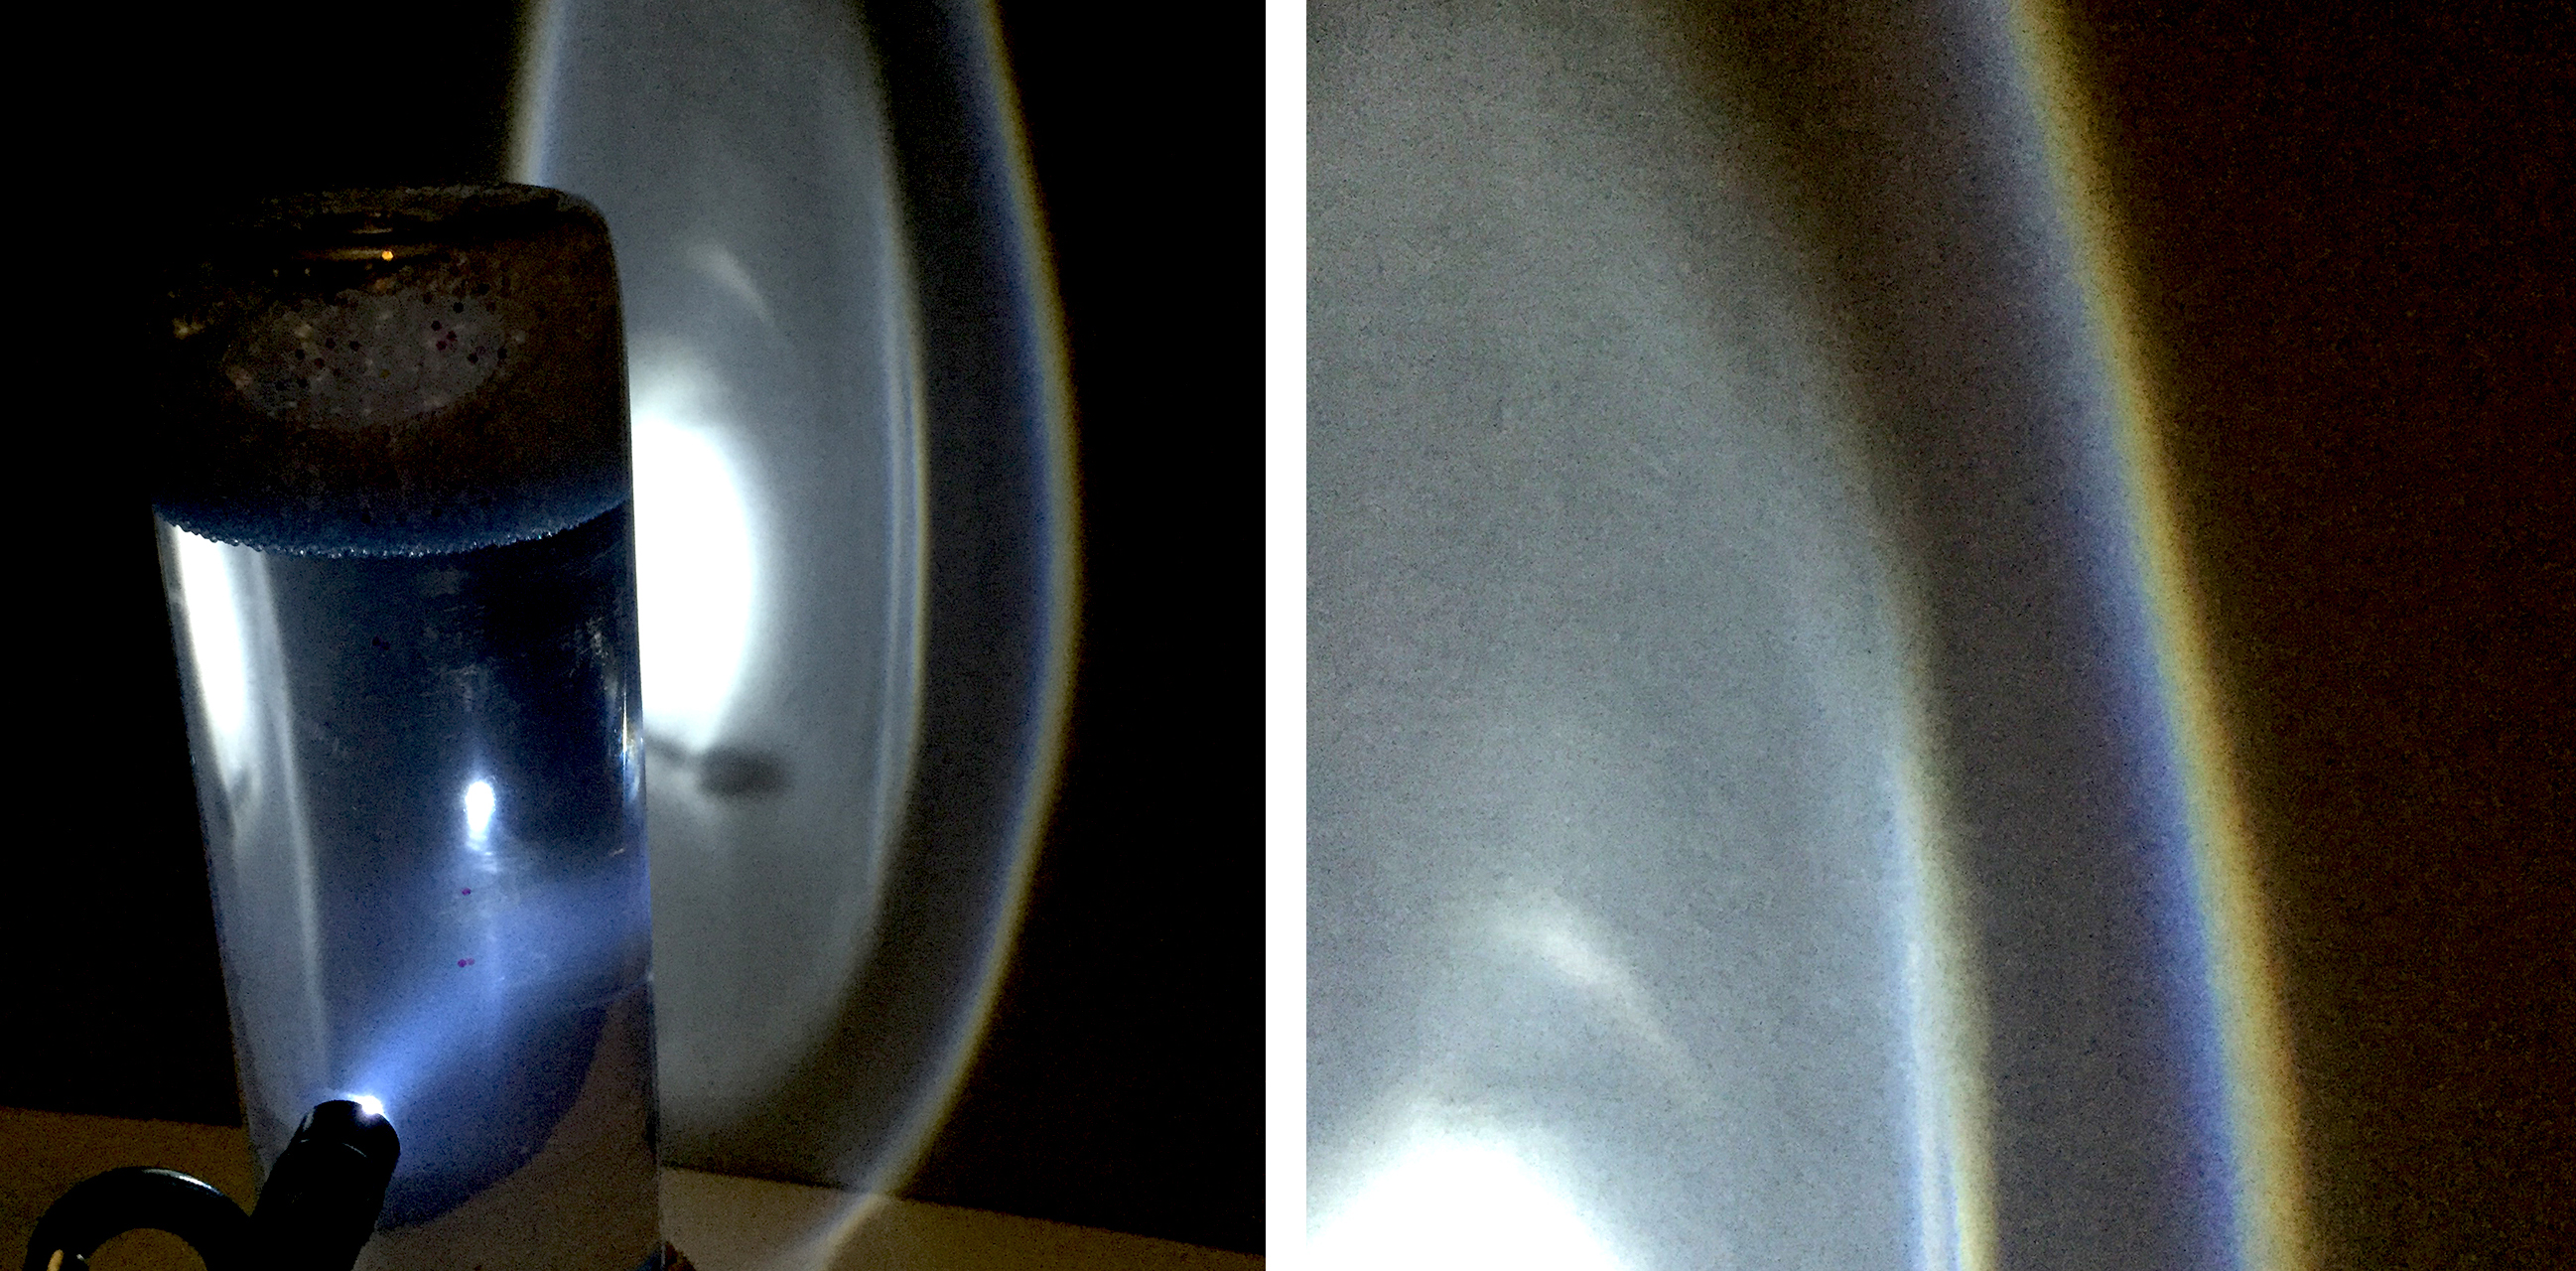 3. Start with the water bottle. Shine your light through the bottle.
4. Move the light around, closer and further from the bottle to get different rainbows.
5. You can even pick the bottle up and move it at different angles to see what kind of rainbows you can get.
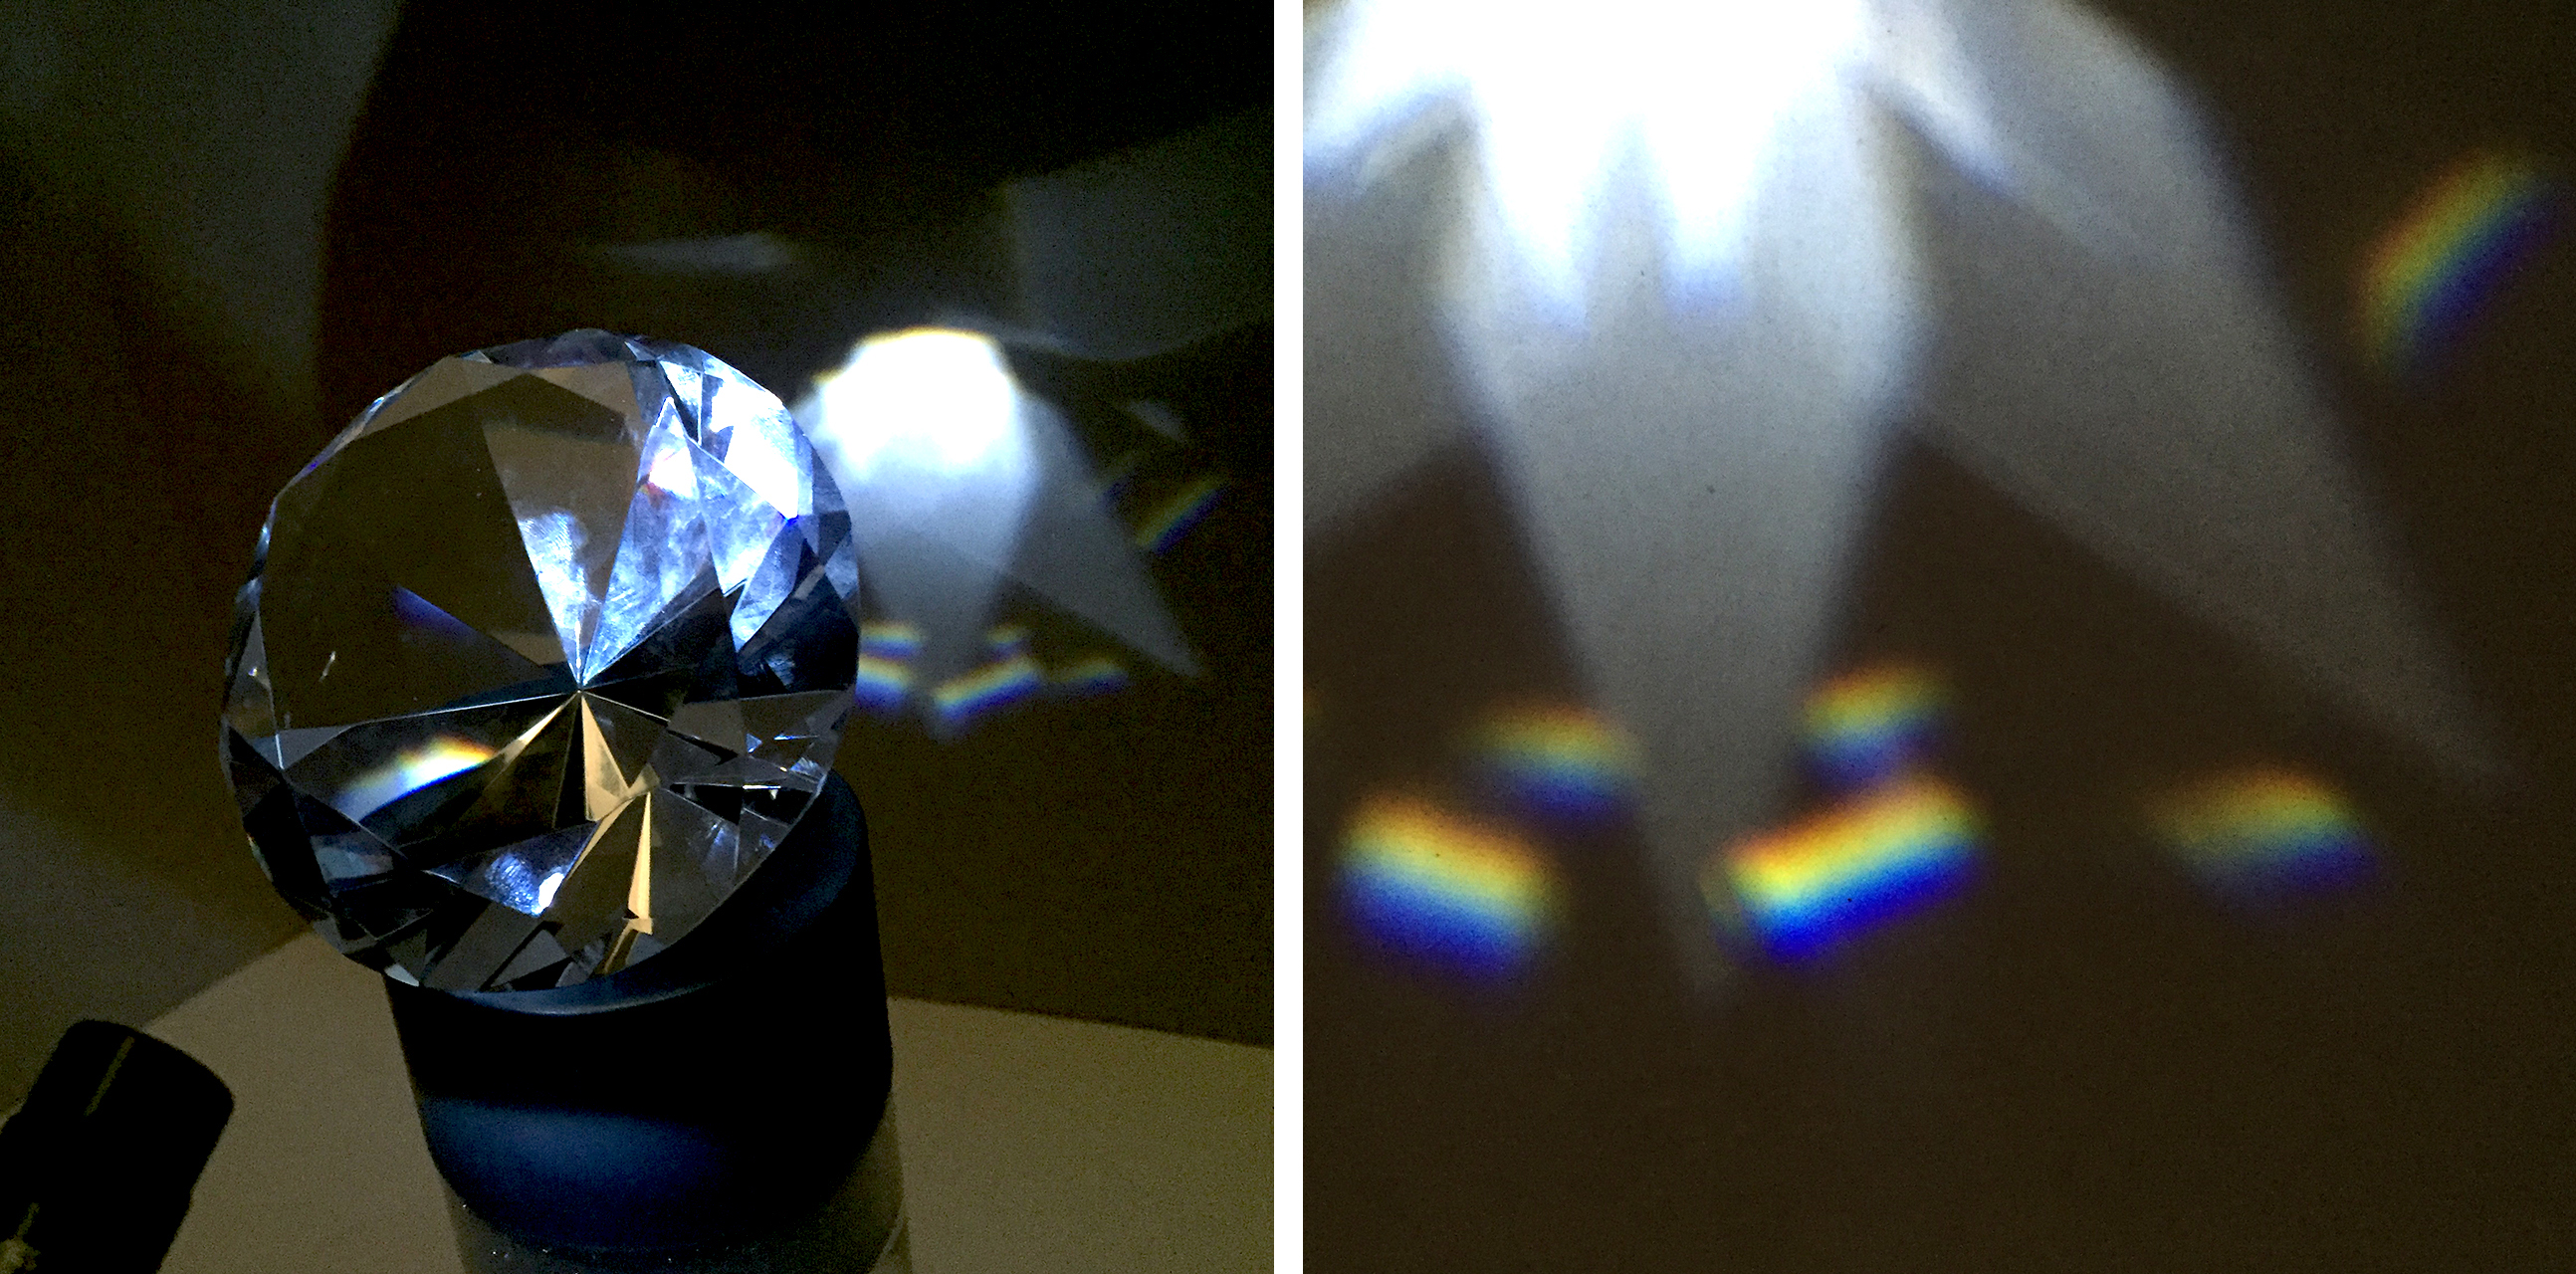
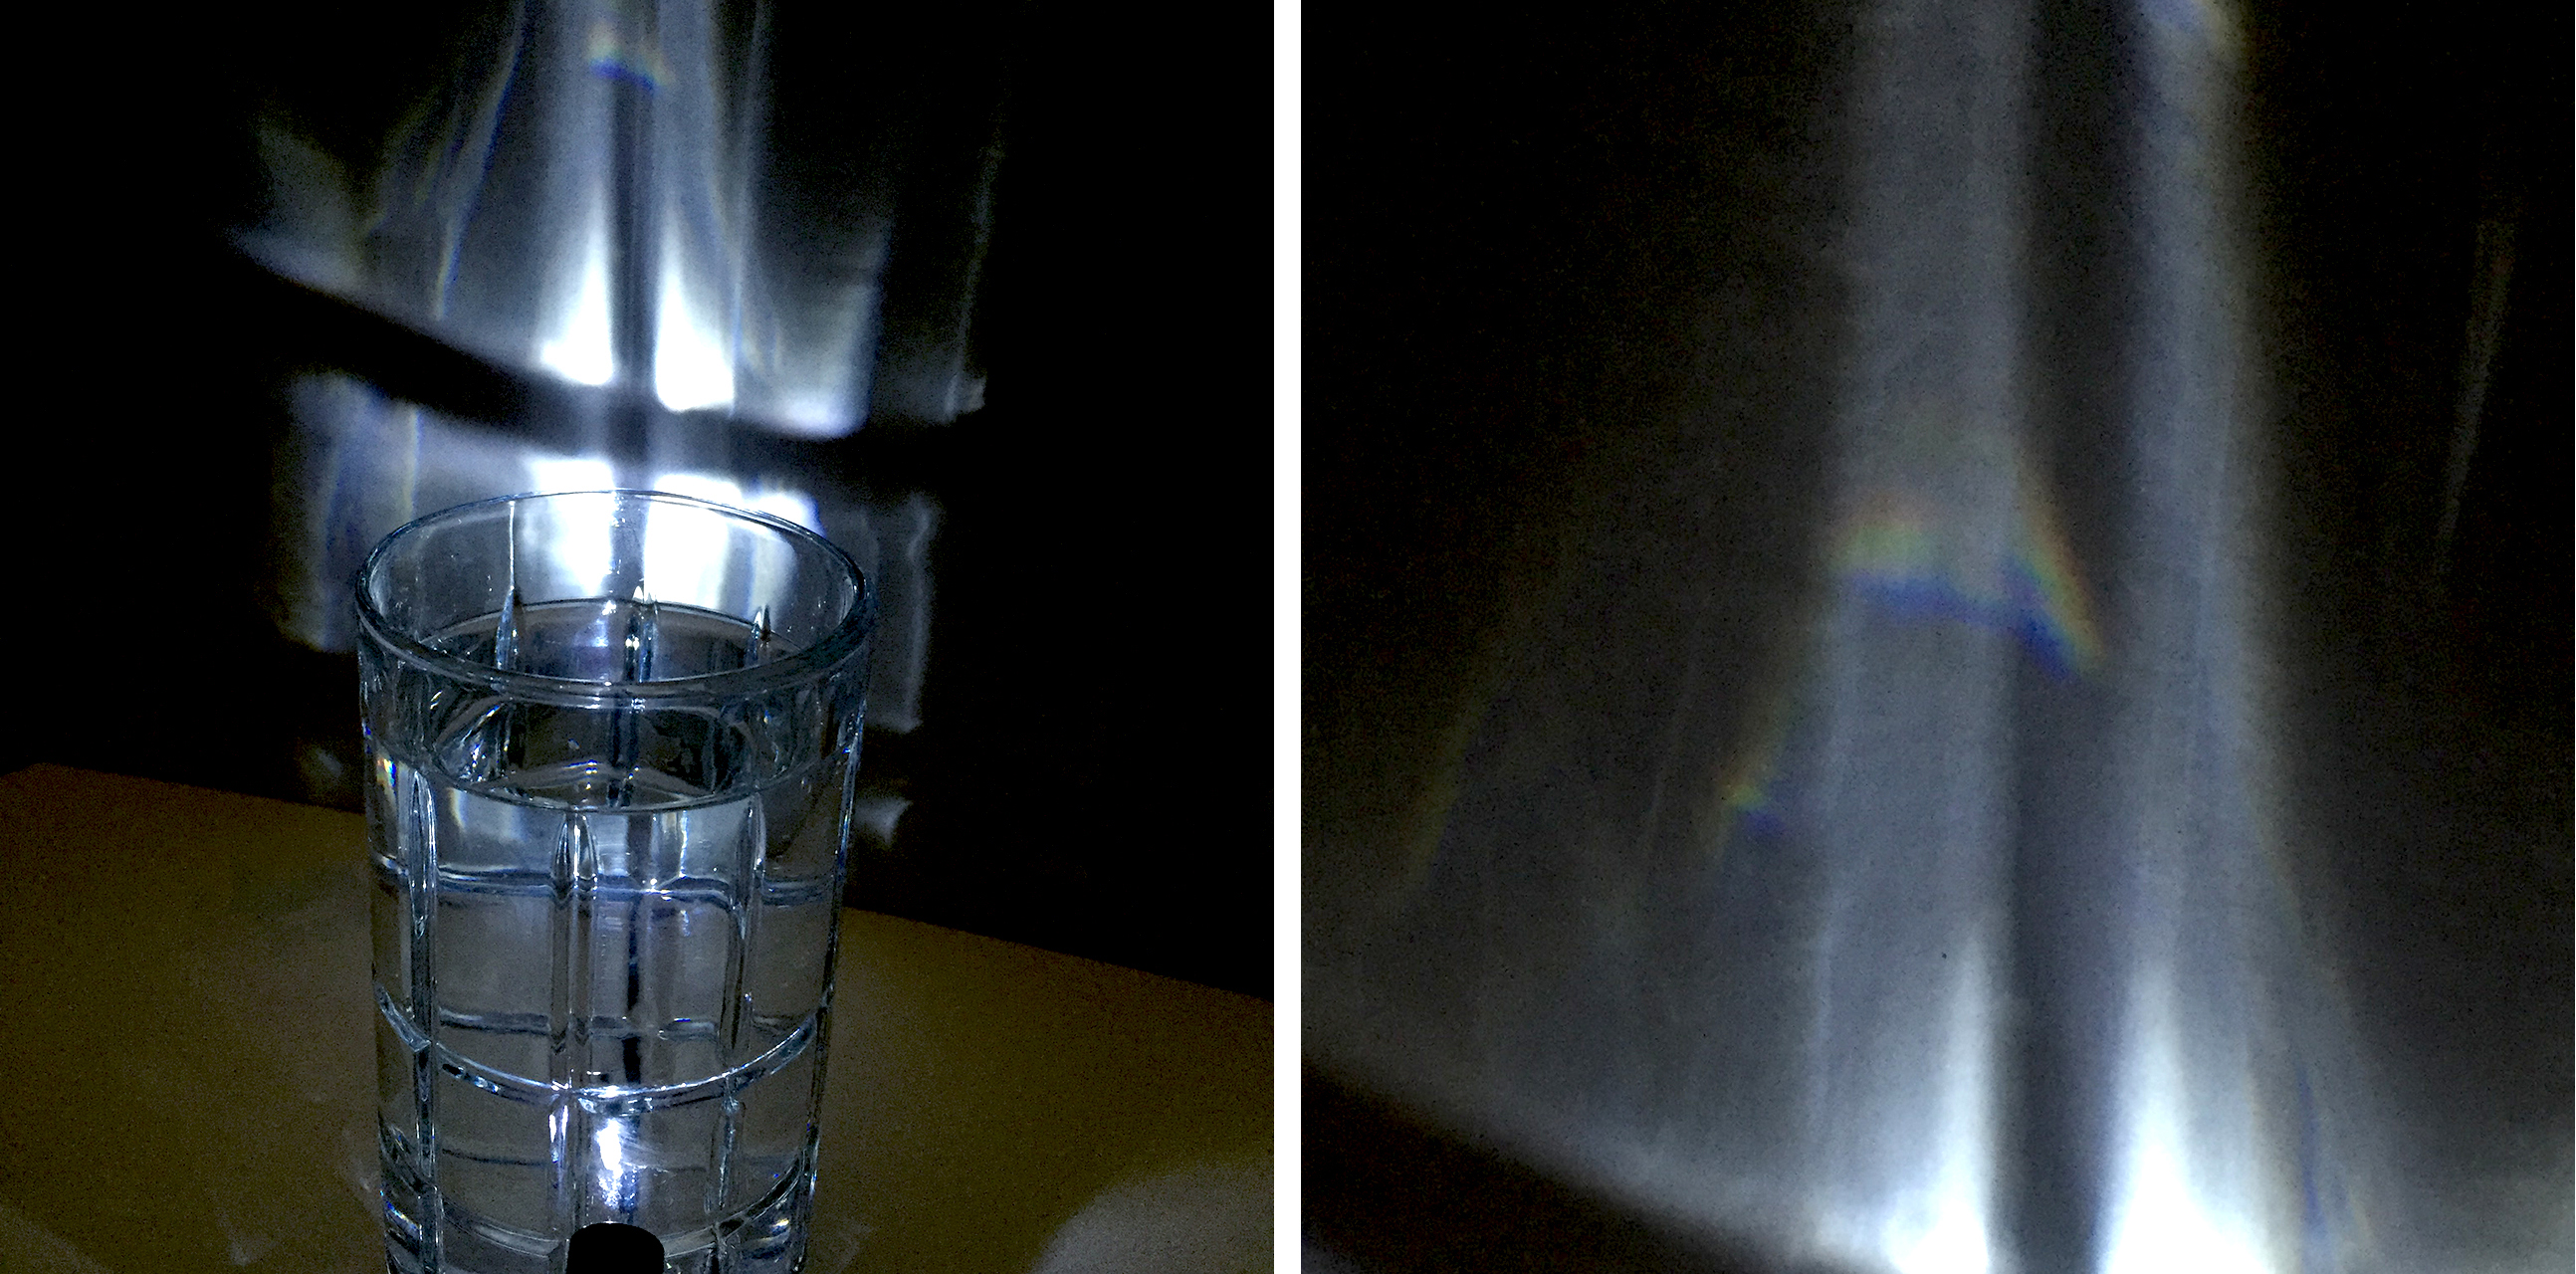 6. Next try a prism. Shine the light through the prism.
Pro Mom Tip: We did the diamond paper weight and a glass with cut angles to get different effects.
7. Move the light and prism around to see all the different rainbows you can create. Even try further and closer to the prism.
Pro Mom Tip: I would try holding it or placing it on a tall surface to be able to try shining the light down through it as well.
 8. Now try the CD. This isn’t the same as a real rainbow where light travels through but a CD reflects the light to create beautiful rainbows onto a white surface.
Pro Mom tip: The CD is also great to decorate with sharpies or gem stickers. Hang it near a window or in the backyard as a sun reflector that create beautiful colors.
RESULTS
This is the perfect time to have your child explain what was happening during the experiment. What happens when you shine light through the milky water? What happens when you shine light through clear water or prisms?
CONCLUSION
What did your child find out once the experiment was over? Is the sky really blue? Why does the rainbow have so many colors?
These are two very easy but fun experiments to do together to learn about blue sky and rainbows. If you enjoyed these experiments, check out our previous Create a Thunderstorm Experiment.
Love,
Jeannie
Leave a Reply